


Our goal is to help you take great snaps right out of the box! We’re thrilled to launch this new series which breaks down some photography fundamentals and hopefully enables you to take the photograph you envision as quickly as possible.
Photography can be a maddening mix of art and science. There’s nothing more exciting than ordering a new camera but sometimes it can feel a bit daunting — where do you start? In the face of how complex photography is, it can be easy to give up. In the following series, we will try to break down what we feel helps us take great photos. This post assumes a basic level of photography fundamentals, so do let me know if you would like me to backtrack 🙂 As always, let us know what questions you have along the way — there’s no such thing as a silly one!! xx

I believe that a great way to take the pressure off is to start by shooting in aperture priority. I know a lot of professional photographers who still use aperture priority for big events. I shoot in manual because it gives me full control but I think that using this system is a great way to learn and will allow you to get quicker results thereby encouraging you to keep using your camera.
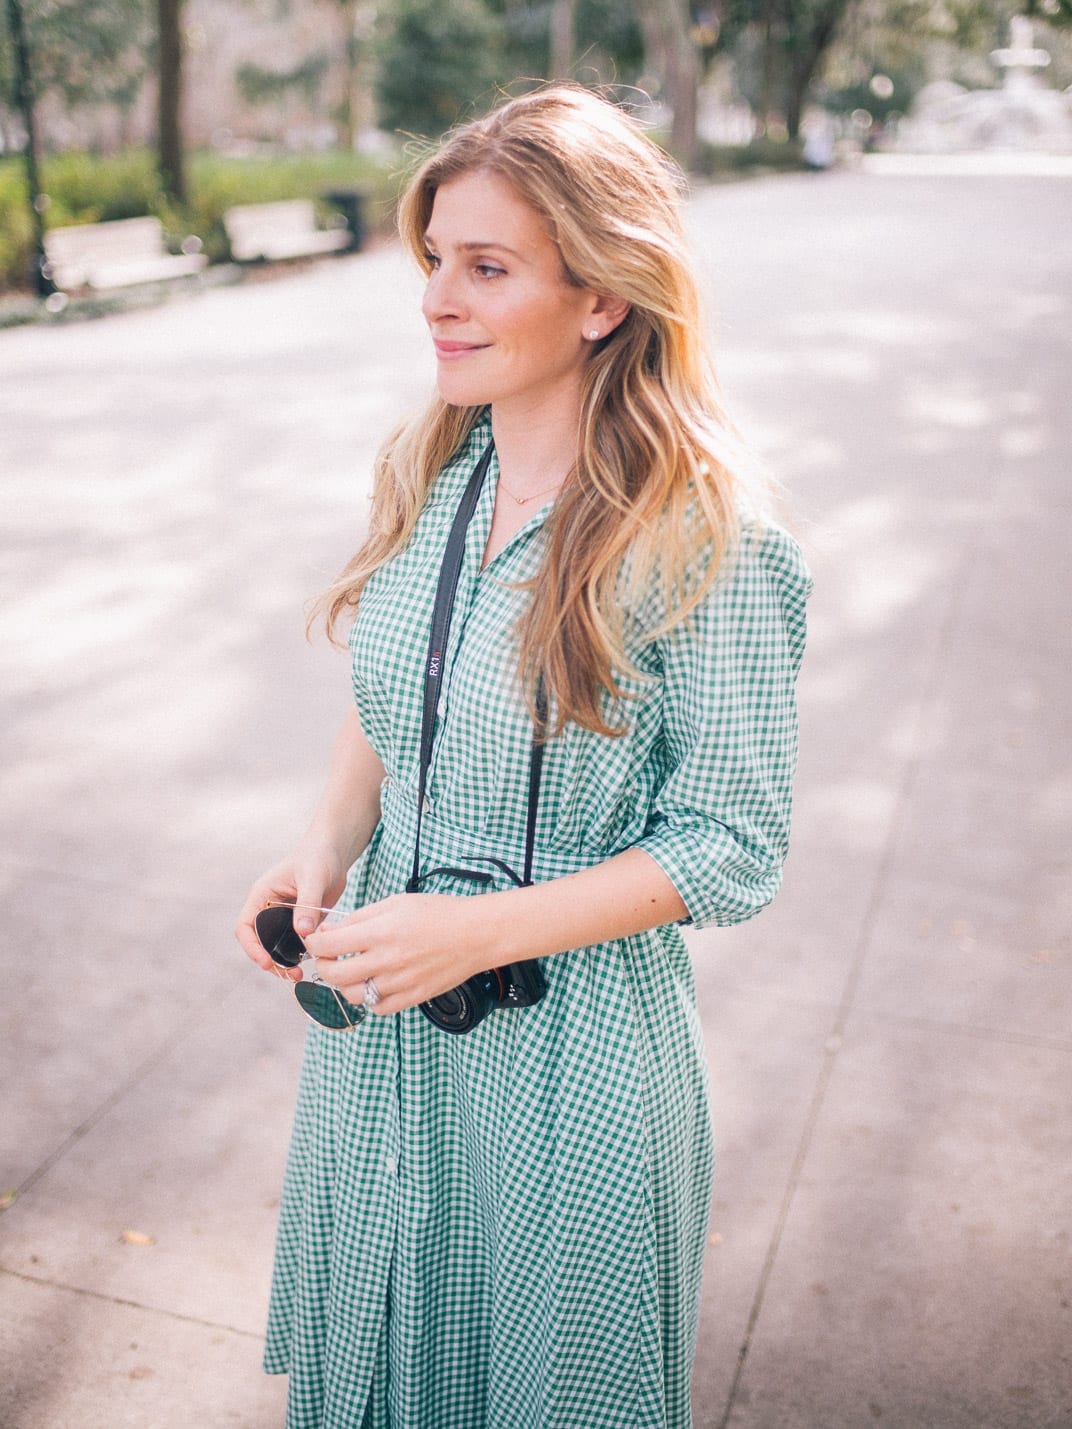
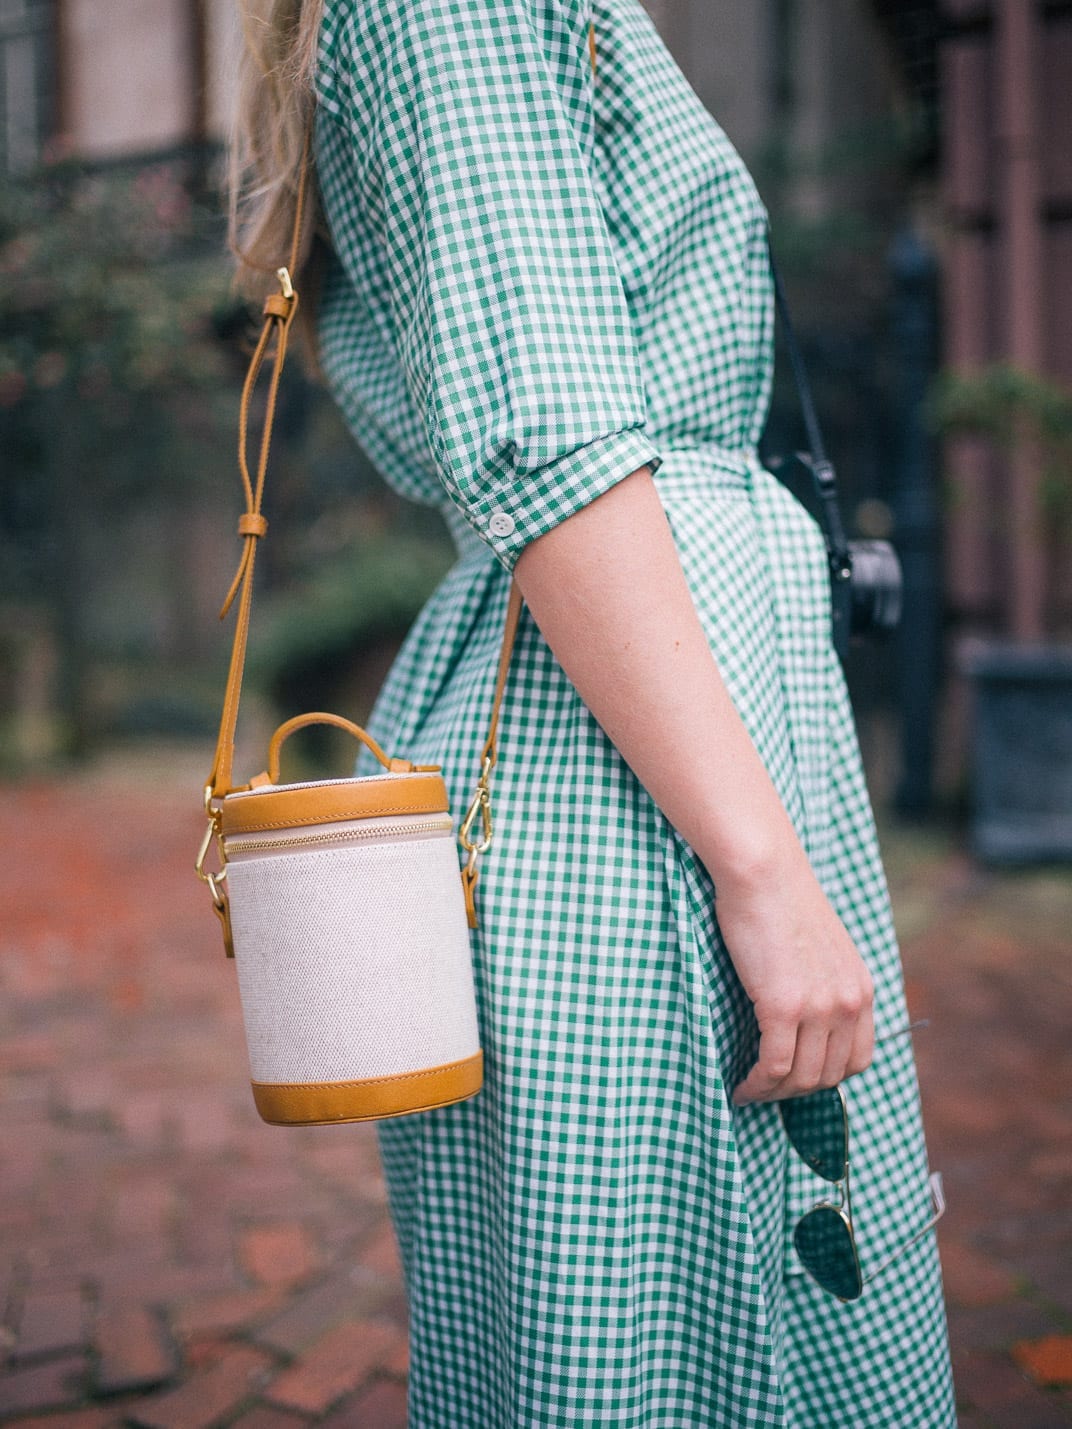
Aperture priority allows you to set your f.stop and then the camera determines the shutter speed. You can also set the ISO on automatic or, if you’re outside, have it around 100-200 and as the light drops, you can continue make it higher, say 400 or 640. I will explain this in a moment but quickly back to setting your f. stop: most of the time I shoot “wide open” which means that I have the f. stop on the lowest possible number, say 1.4 or 2.8. The reason I love shooting “wide open” is because a shadow depth of field puts your subject in focus but blurs the background, making it soft and dreamy. If you’re shooting on a shallow depth of field but your subject and the background are both far away, everything might be in focus but the images is still softer and more pleasing to my eye.


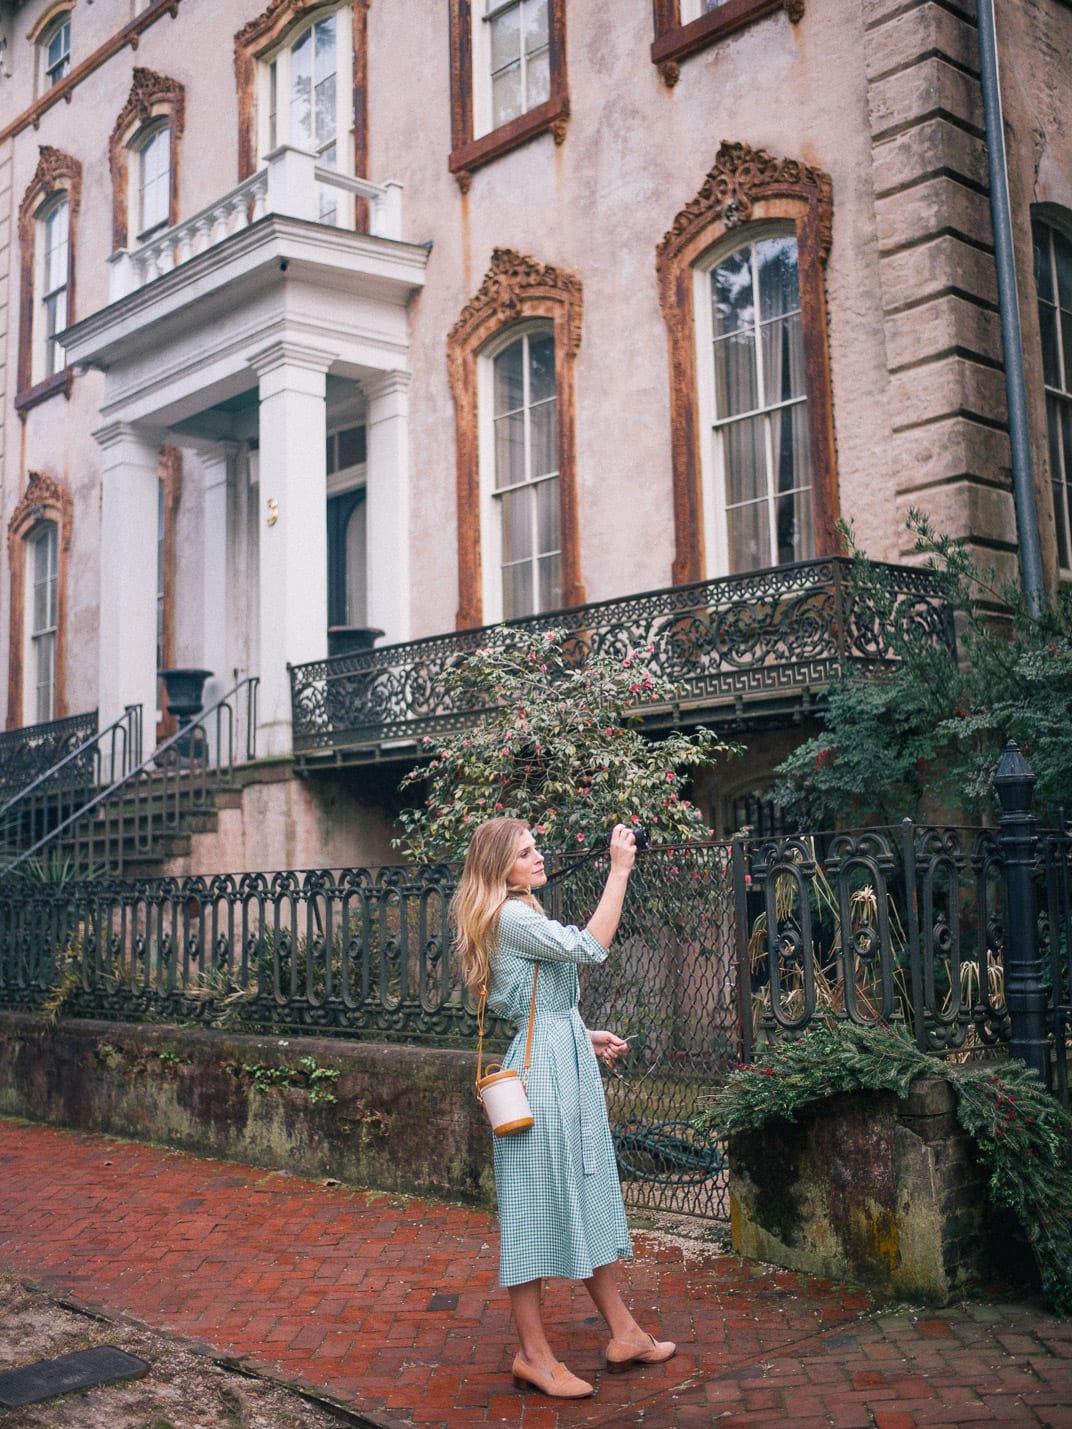
The challenge when you shoot shallow depth of field is that you need to get the focus right. I always find out where the focus points are on my camera — and this is worth a good youtube session if your camera system is relatively new to you. Focus points allow you to pick where the camera focuses (just like it sounds) but if you don’t use them, the camera will focus where it thinks it “should” which often throws off your composition, especially if you use the rule of thirds a lot. I know this might not make a lot of sense on paper, but these are something I use for every. single. shot. !

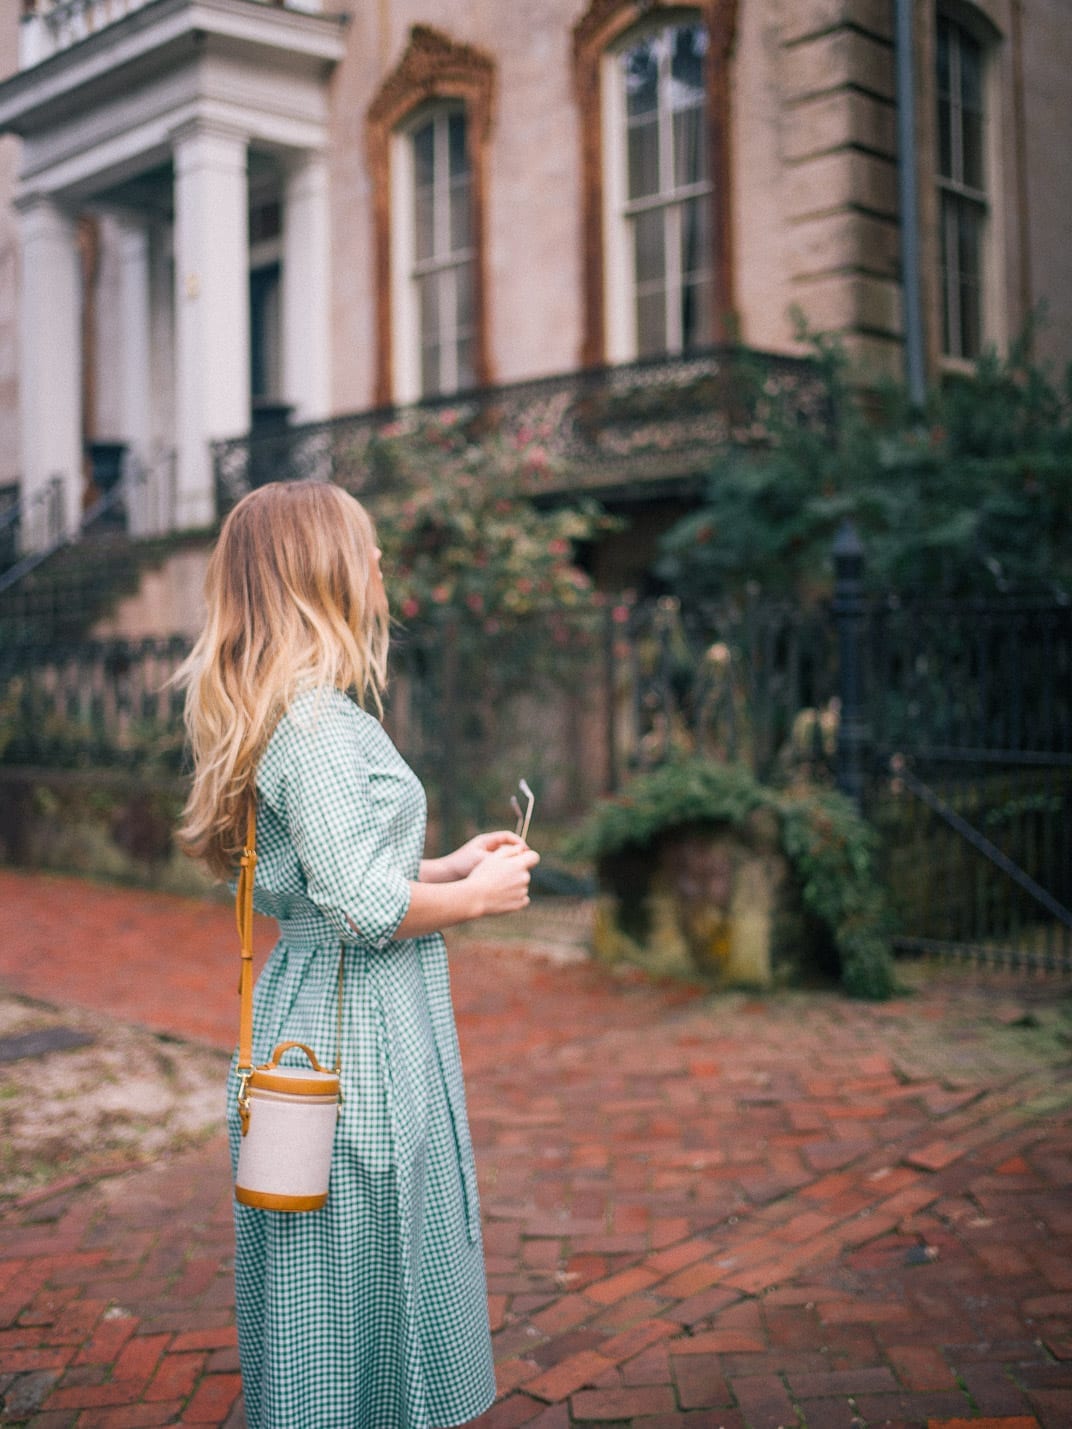
If you’re in a low light environment (I love to shoot a lot at dusk), and you’re wide open on aperture priority but the images are still too dark, you can adjust the ISO setting to go a bit higher. Our Canon cameras have amazing ISO capacity but a lot of junior DSLRs will not. With this in mind, I recommend that you try to keep your ISO below 1000.
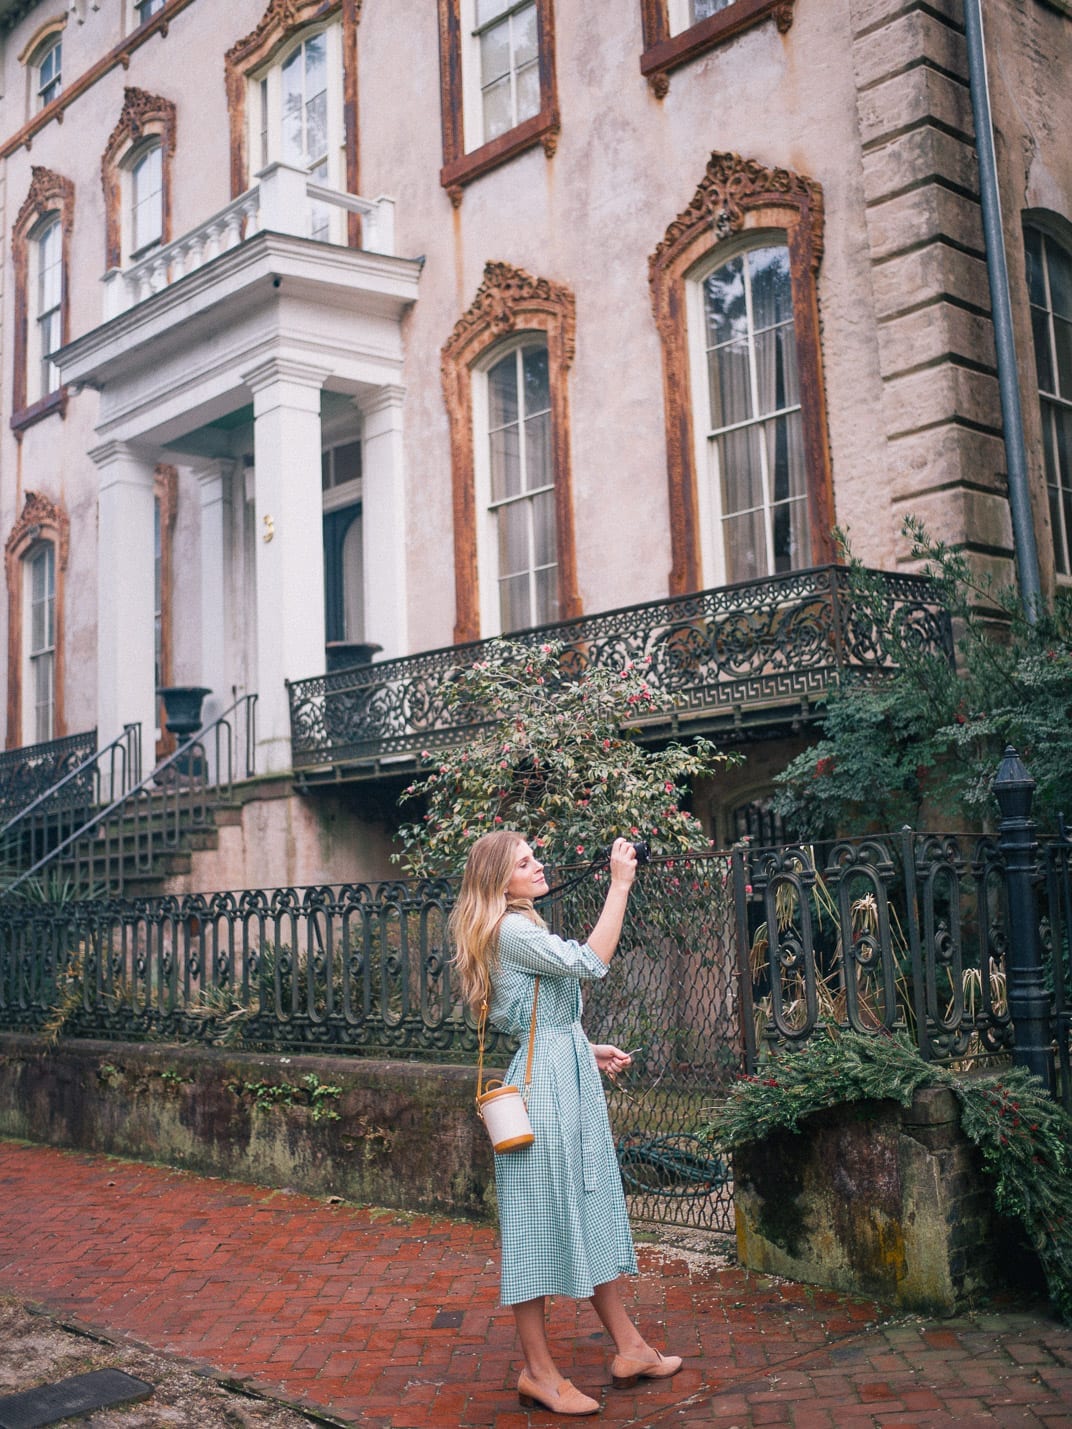
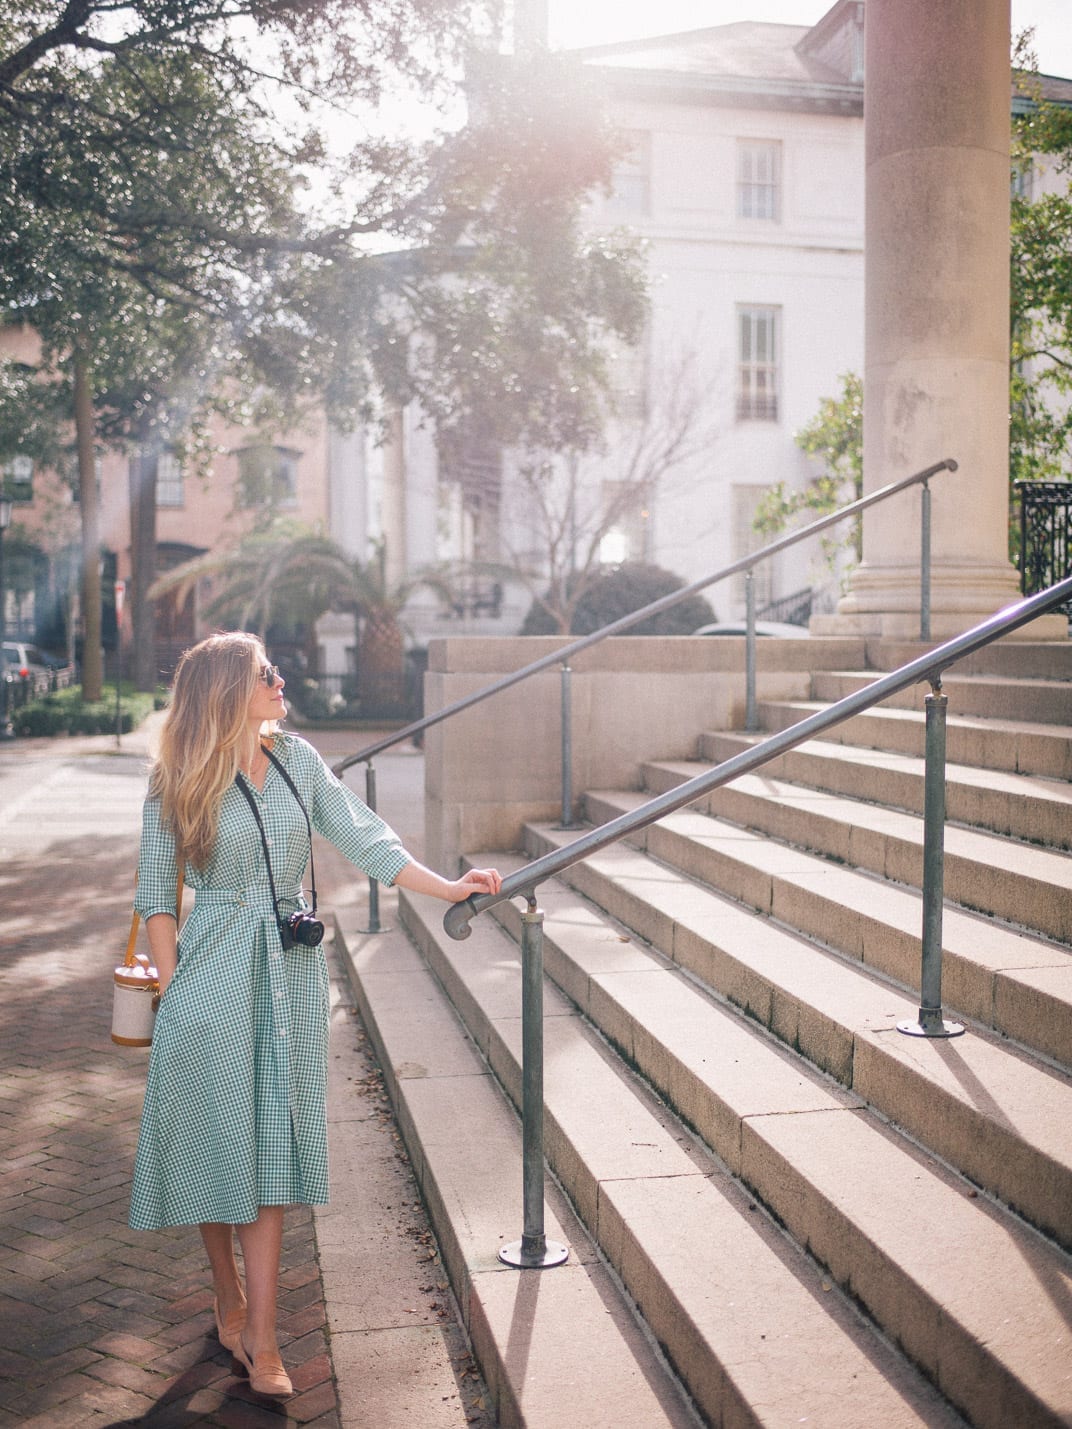
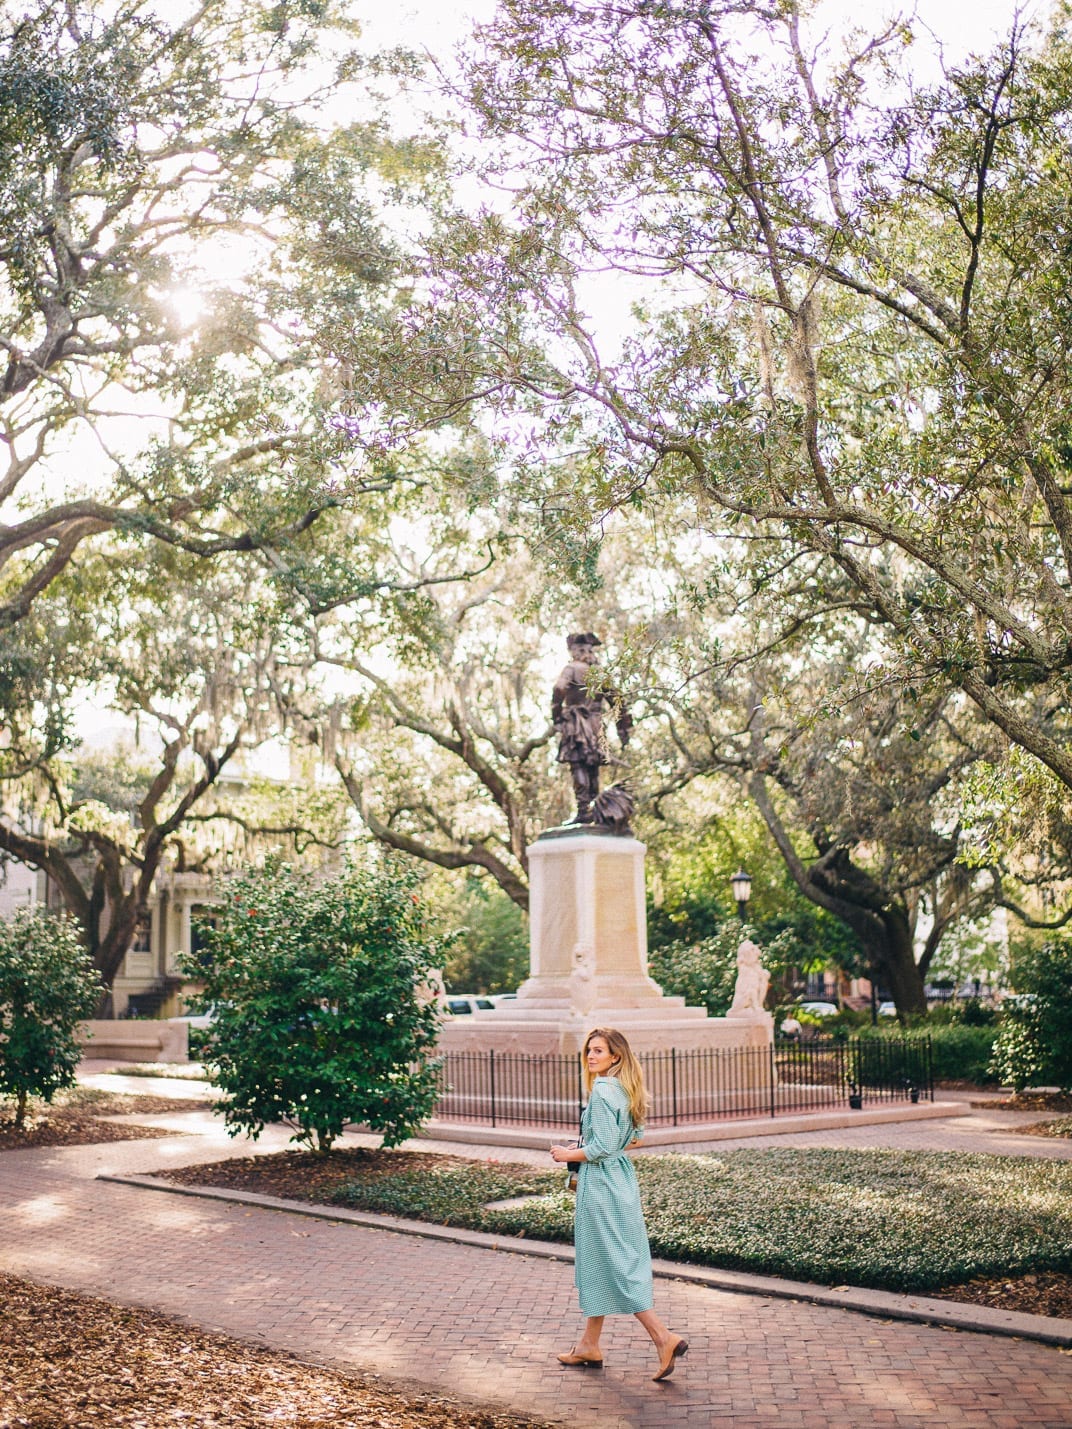
Of course, lighting conditions are very important. I would highly recommend practicing the most at pleasing times of day, like sunrise or sunset, to make sure you’re giving yourself an easier time of getting great images. Shooting at mid-day is tough for anyone, no matter the experience level.
I love to backlight my subjects. This means that I place my subject between myself and the sun. You might have tried this on your iPhone and found it didn’t work so well but this is where a more advanced camera/lens does so well. I place the sun is behind my subject; if it’s directly behind you might get some flare (which can be fun in the right setting) but if the sun is behind what you’re shooting and then a bit off to the left or right, should get a really nice image which pops.
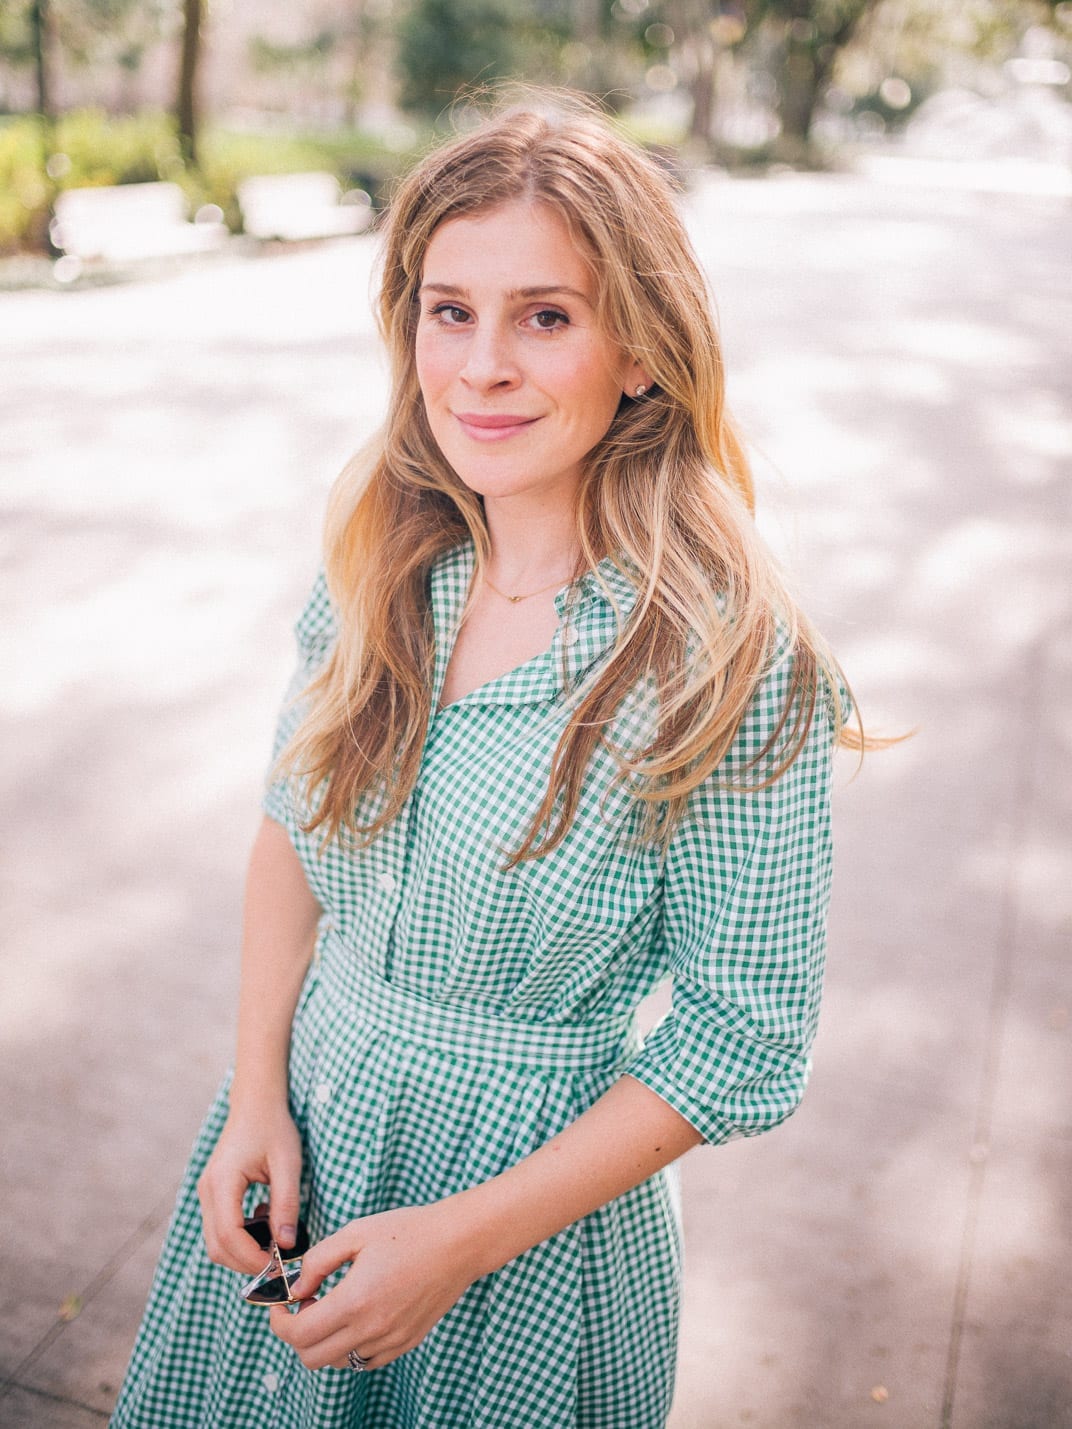
Light in the eyes in a big one. Oftentimes, we can’t figure out why our portrait looks off and it’s because there’s no light in the eyes. We will go into this more in another post because I have lots of tricks but it’s certainly something to watch out for, like wearing a white shirt when I shoot somebody else.


I hope these tips help a bit, please let me know if anything is confusing/unclear!! xxx