


Hi All! We started this series the week before last, in case you missed it here is the first post. I’m going to review quite a bit in this post and hopefully answer some questions from last time. It has come to my attention that it might be helpful to have a more formal video tutorial series so that we can really review everything from the beginning, is this something you might be interested in?
In this post, I will cover these topics great starter cameras & lenses and photography basics (aperture, shutter speed, ISO). Photography basics can be a bit overwhelming but don’t let it get to you — I really only use a handful of settings and my goal is to get you to a comfortable place by the end of this series!
Great starter cameras
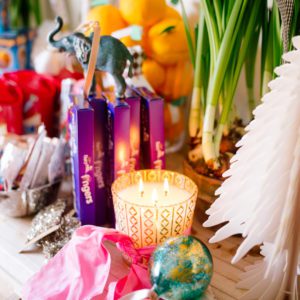
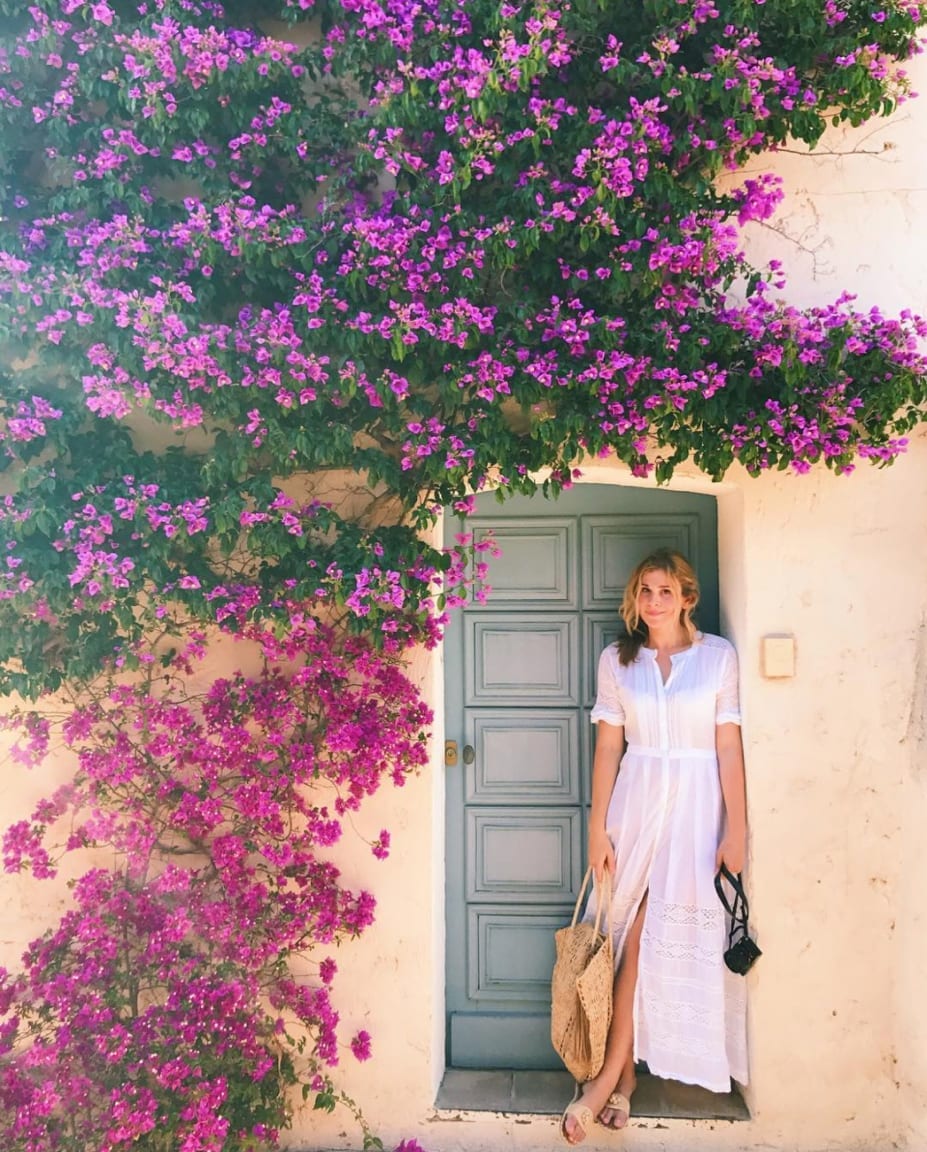
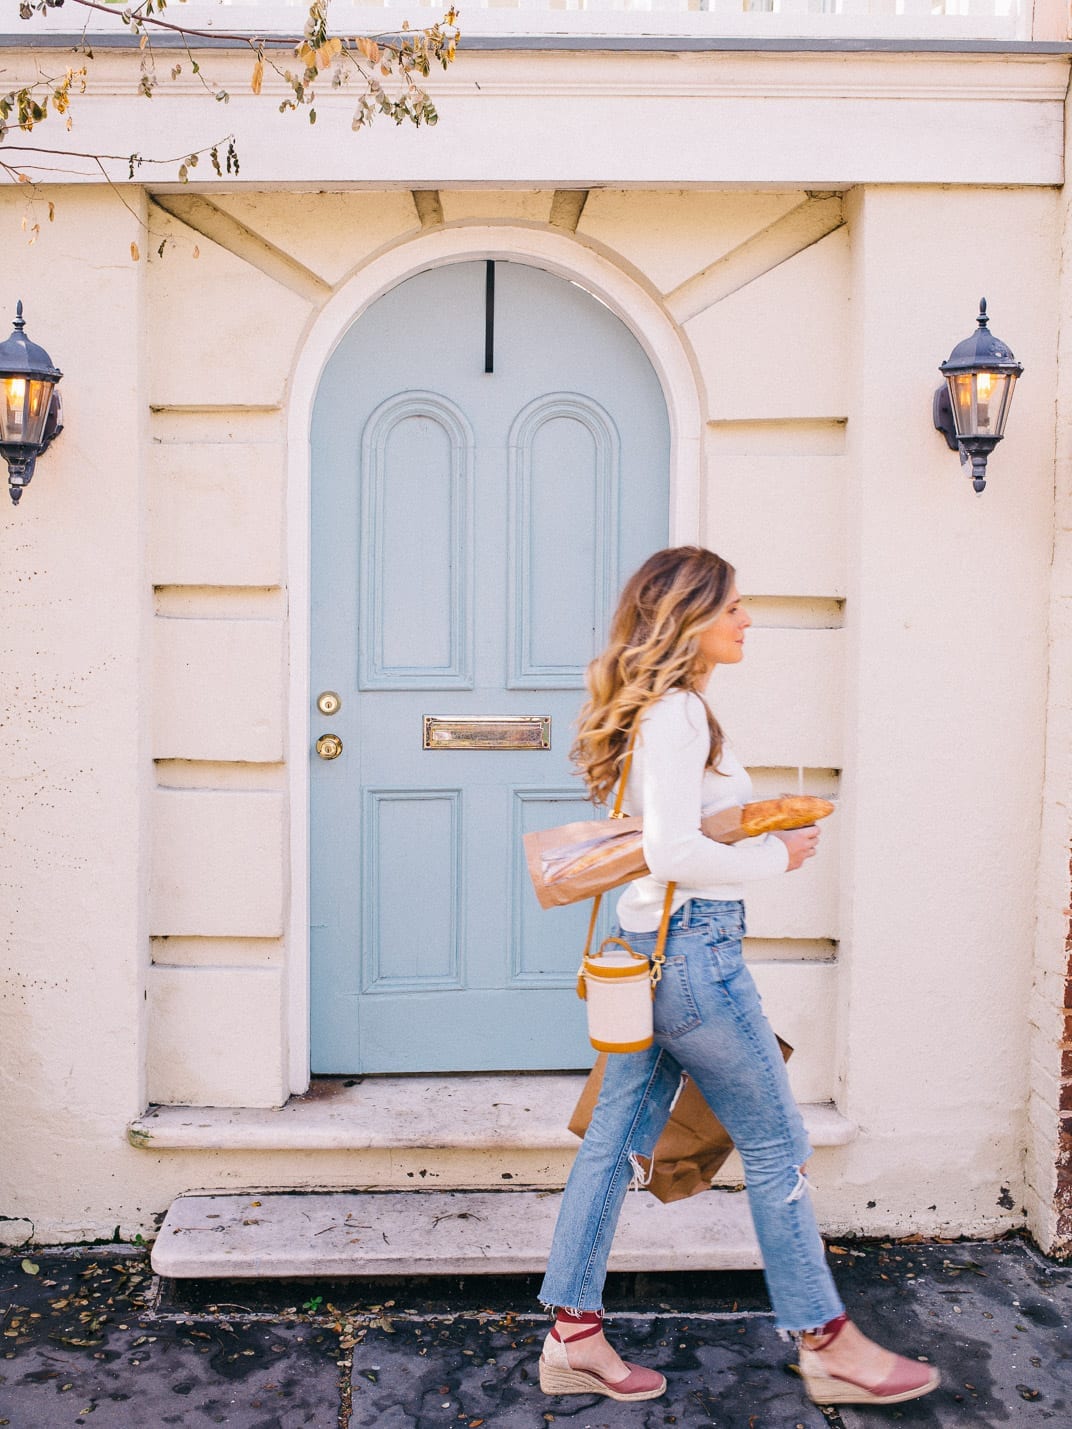
I have said it before and I will say it again I really love my iPhone. I know this might not be the answer you’re after, but I wouldn’t totally dismiss it, particularly if you have a newer model. It’s an easier way to familiarize yourself with photography fundamentals, like how to use light and composition, without getting very frustrated and wanting to give up. Some of my best-performing Instagram images were taken with the iPhone, like this one below:
I haven’t reviewed cameras beyond the ones that I already use, so I do recommend speaking with an expert (you can always call Adorama or B&H and talk to someone who knows about all the brands/models) but, I think you would be in good shape working with one of the big brands: Canon, Sony, Nikon, Leica.
For those of you who are looking for a professional grade camera but something light and portable, I have worked with the Canon G series and found that it took great pictures, and that was back in 2011 on my trip to Cuba. I also know that Sony is ahead of the game right now and doing great; I have heard good things about the Sony A 7 and am certain that you could do a lot with that camera.
For those who are looking for a professional DSLR camera, I have only worked with Canon and love the mark IV. I would start with a 50 mm 1.2 lens and add in a 24-70 2.8 when you can. The 50 will get you a long way and is very versatile. I also think that with the 50 on, the camera isn’t that big.
Photography basics
The three basic principals that you need to know about when setting your exposure are: aperture, shutter speed and ISO. In last week’s post, I recommended that you work on aperture priority but I can see that this is still a lot to wrap your head around if you aren’t familiar with these concepts. Honestly I took photography 101 four or five times; I find that when I didn’t practice, I forgot everything. It’s so great to shoot a lot because as it is more and more familiar, the technical becomes second nature and you can really focus on the artistry which is what it’s all about.
Don’t let the following totally overwhelm you, I really only use a few settings but this is just to explain a bit more so that you can start to think about why we select said settings:
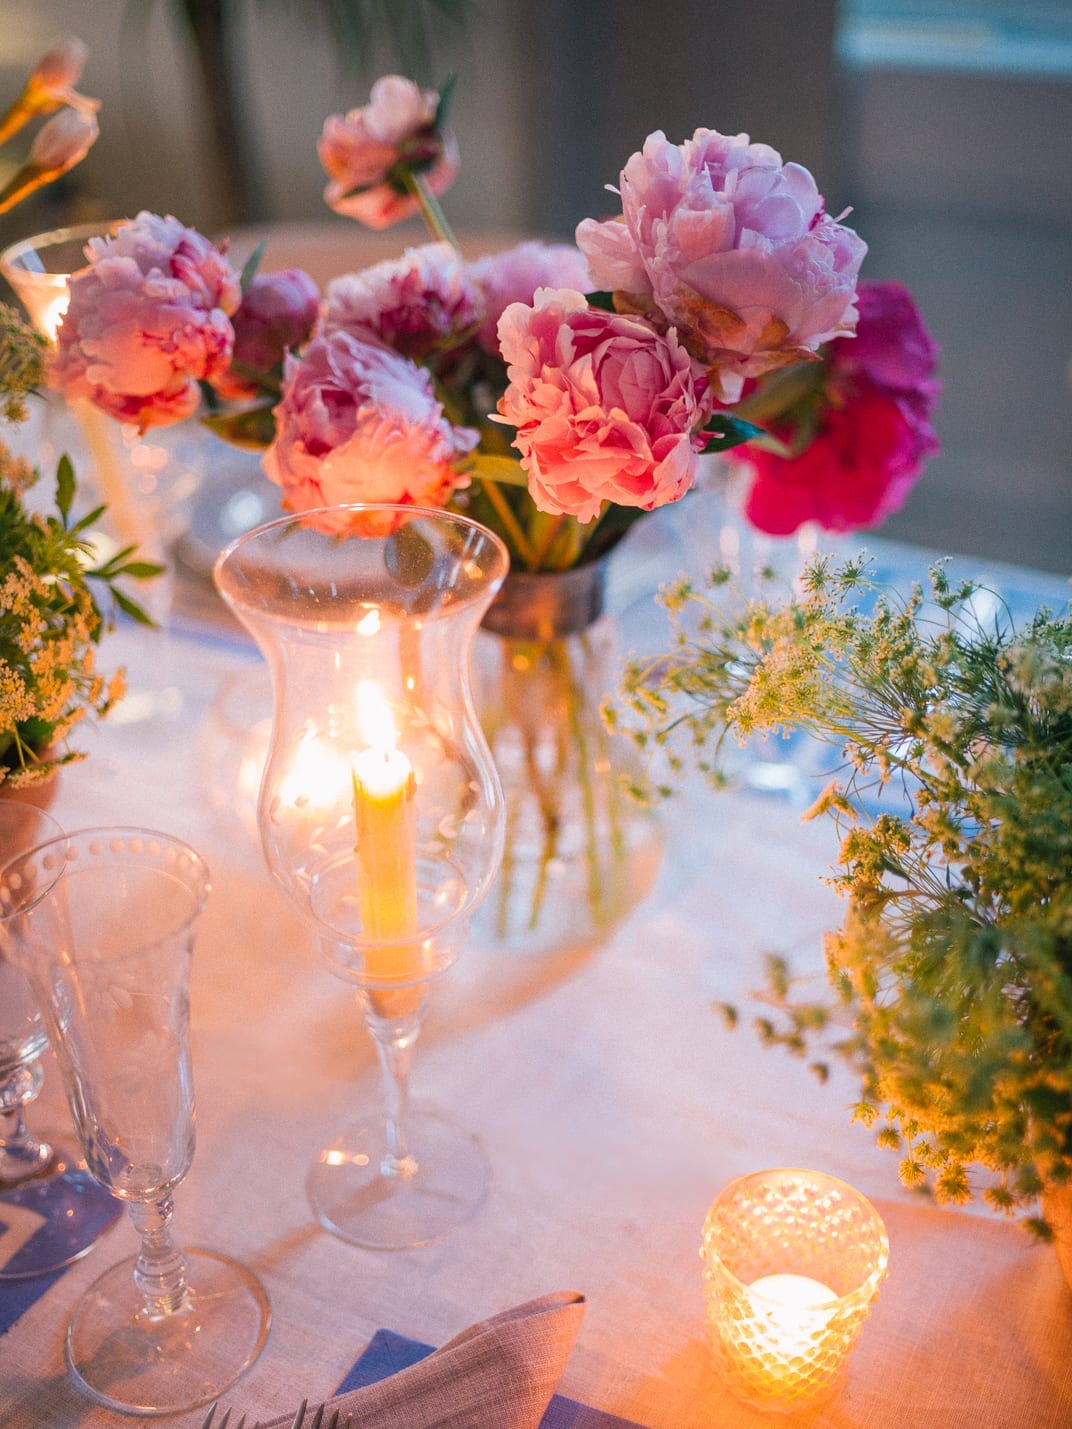
Aperture sets the depth of field, i.e. what is in focus in your image. I shoot on the lowest possible aperture most of the time. This is because I like one thing in my image to pop and to be in focus and the rest to be pretty blurry or soft. Sometimes this is more pronounced and sometimes this is quite subtle. Do you see how the bottle and glass are sharp in the image below but everything else around it is quite soft? This is the effect I like to achieve. 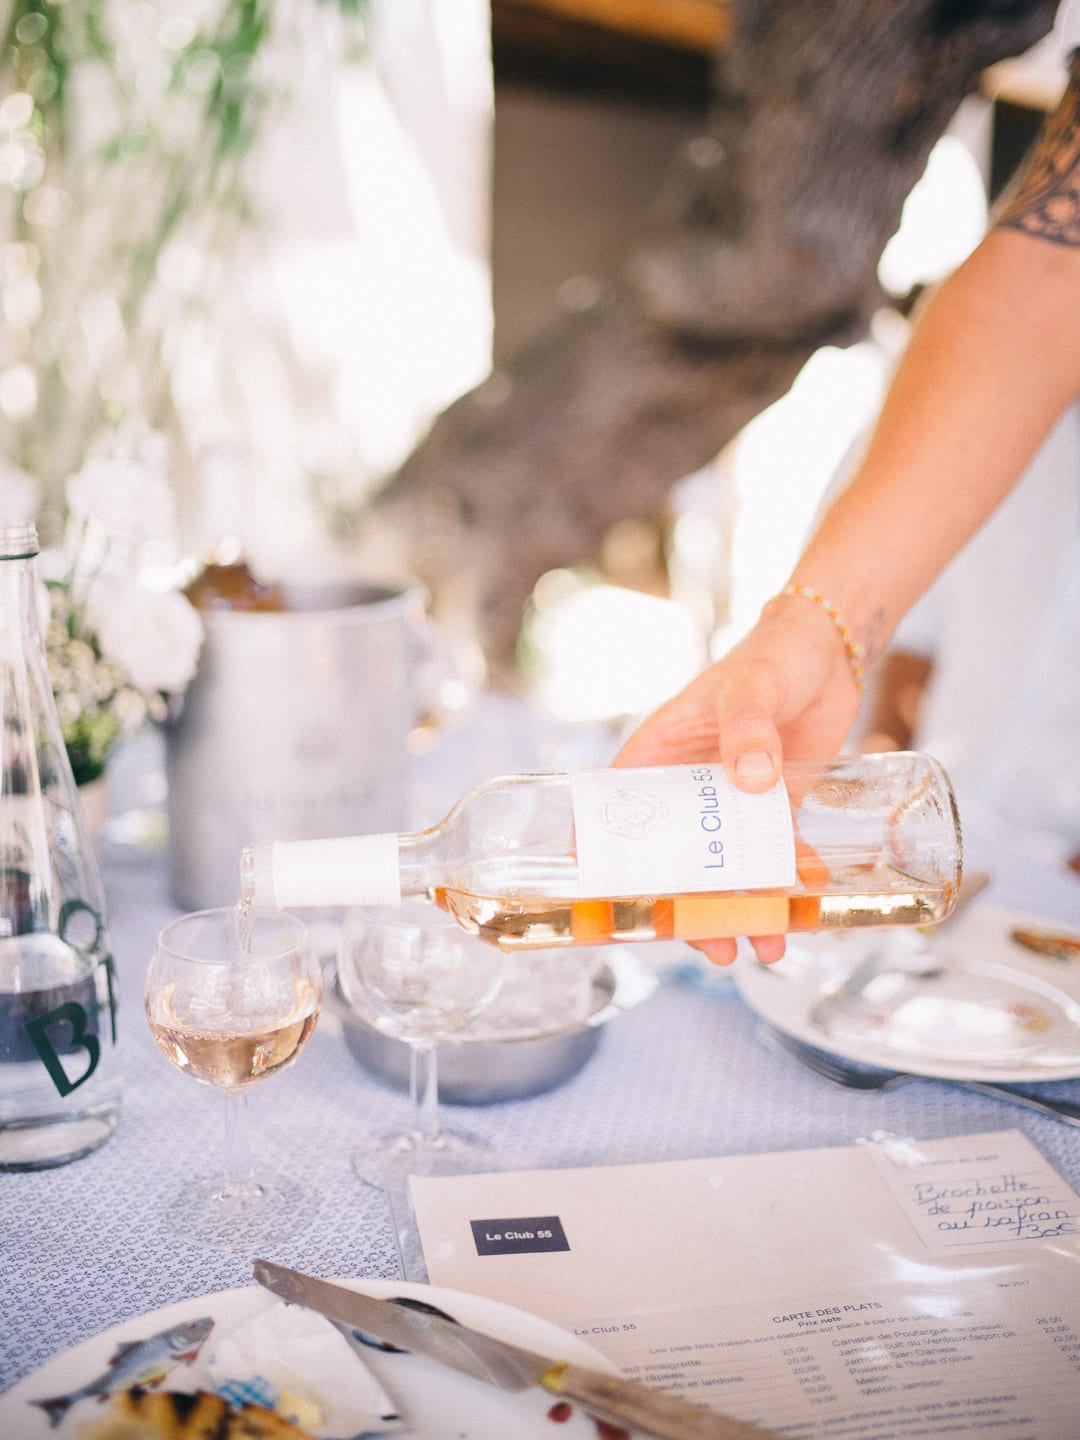
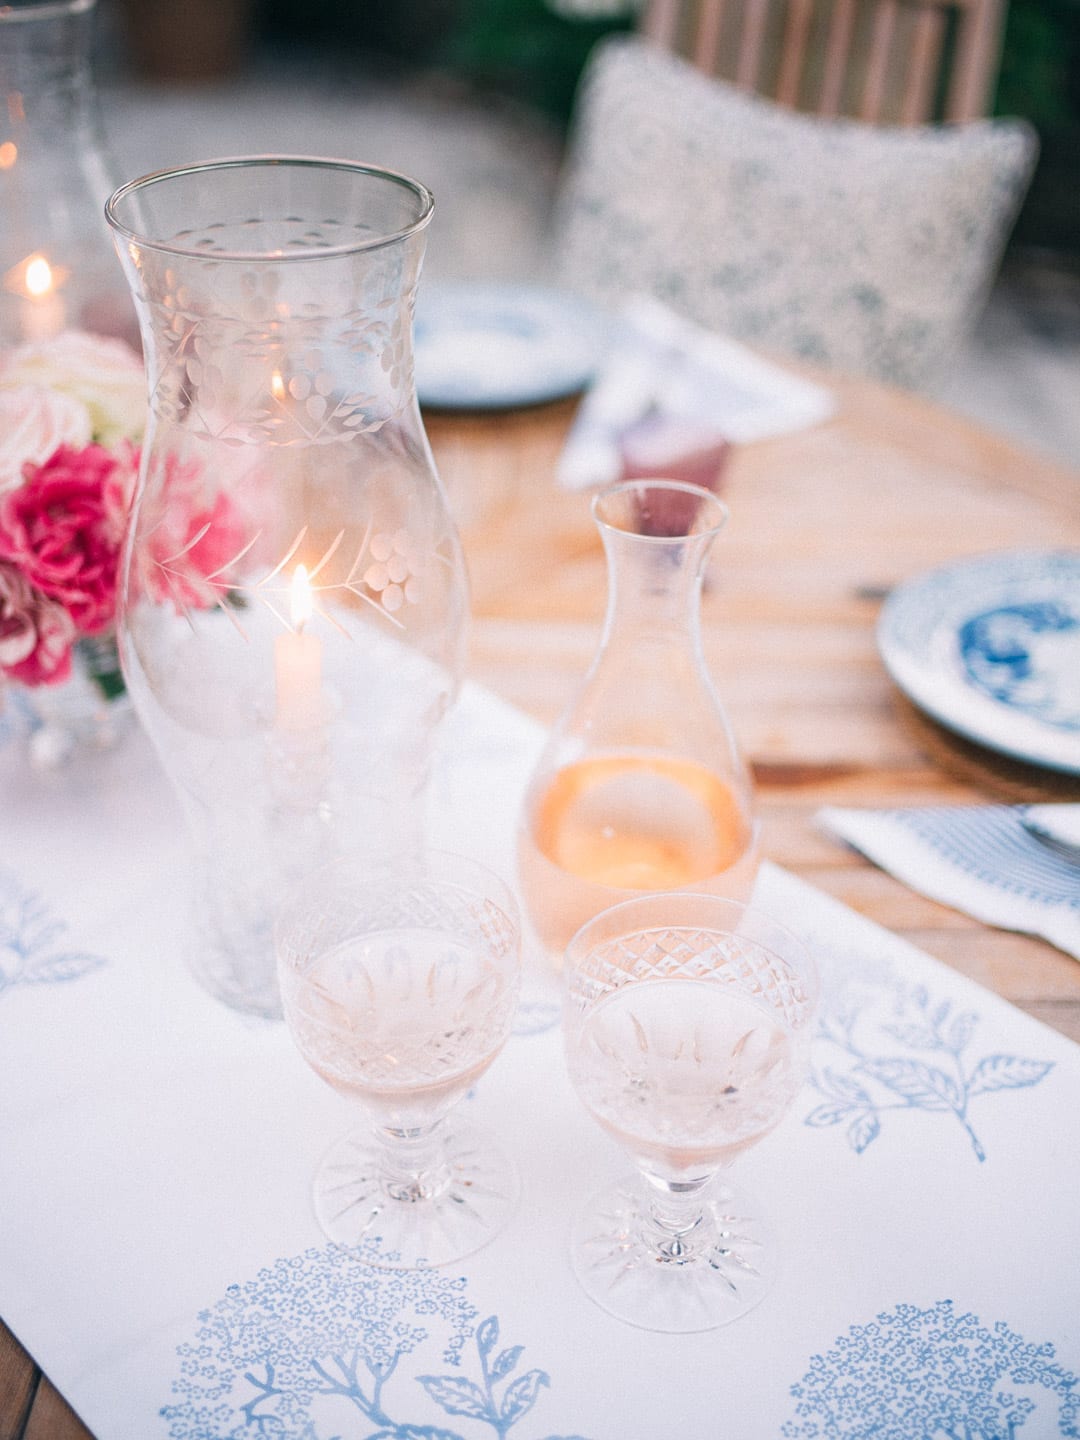
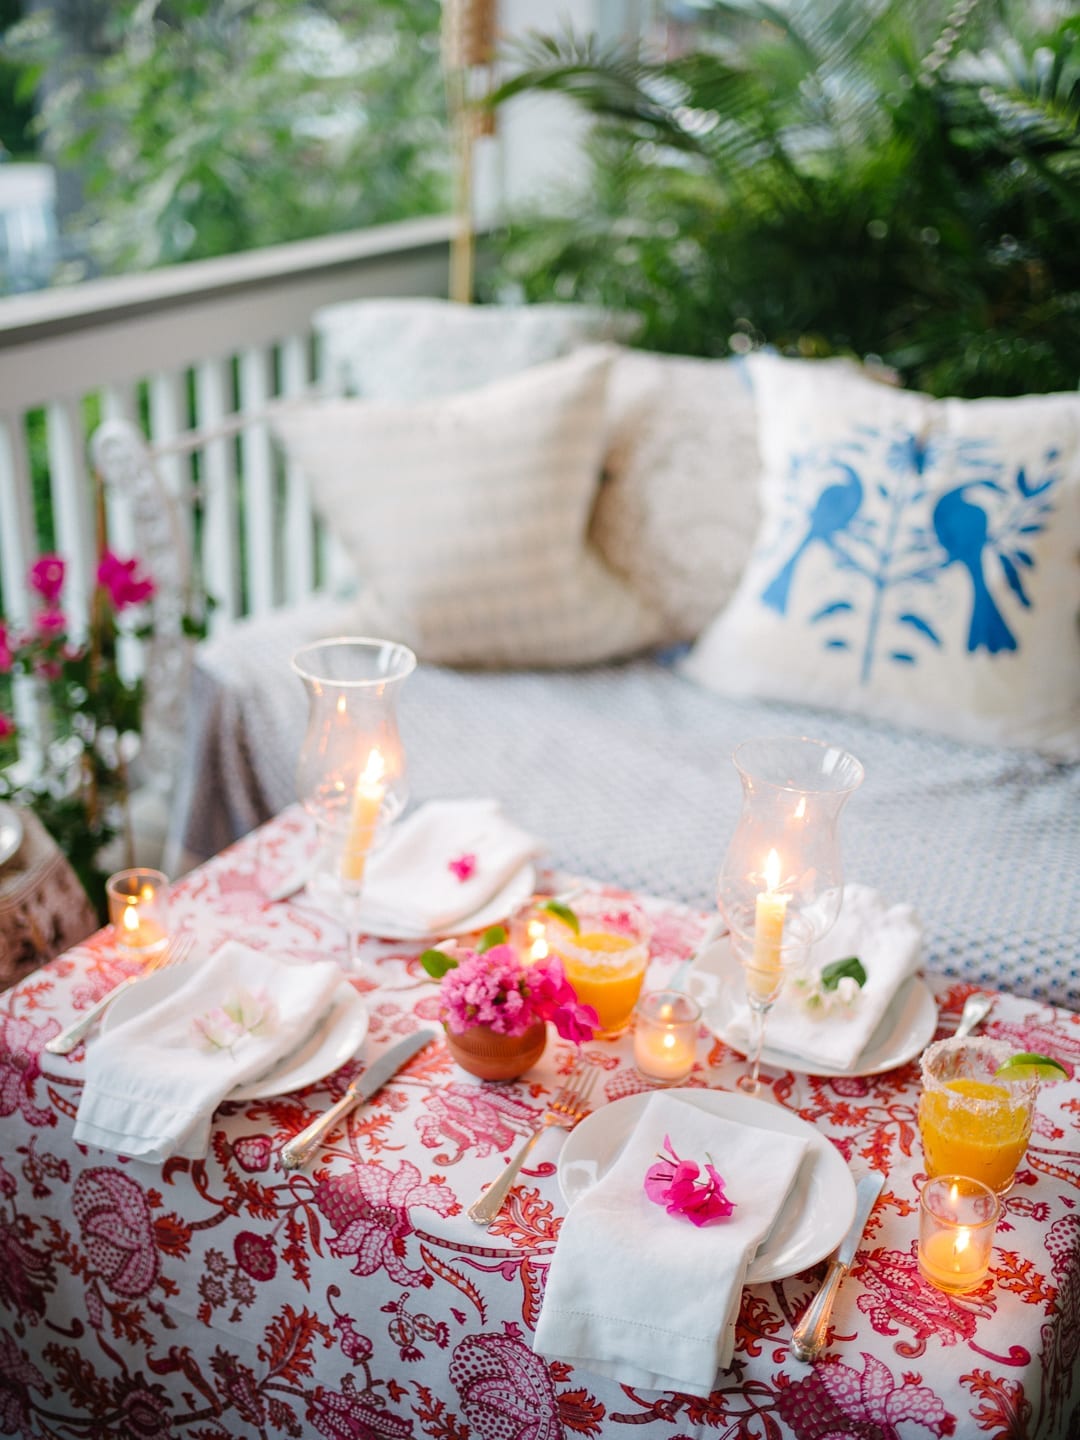
Here is another good example where the glass in front is in focus but the background is soft:
Shutter speed is important when you’re capturing fast moving things — ever take a picture of a person walking or a moving object (car, bike) and found that it’s blurry? That’s shutter speed. You have to start around 1/125 to get a moving object to hold still, but if you’re shooting on aperture priority, the camera will set the shutter speed for you. I also happen to like a bit of blur/movement in my images and so sometimes intentionally leave it low, on 1/60. At a certain point, like if you drop to 1/30 or 1/15th of a second, you might not be able to hold your camera or you will need a very steady hand to make sure that the image is in focus. This is when a tripod is a great tool!
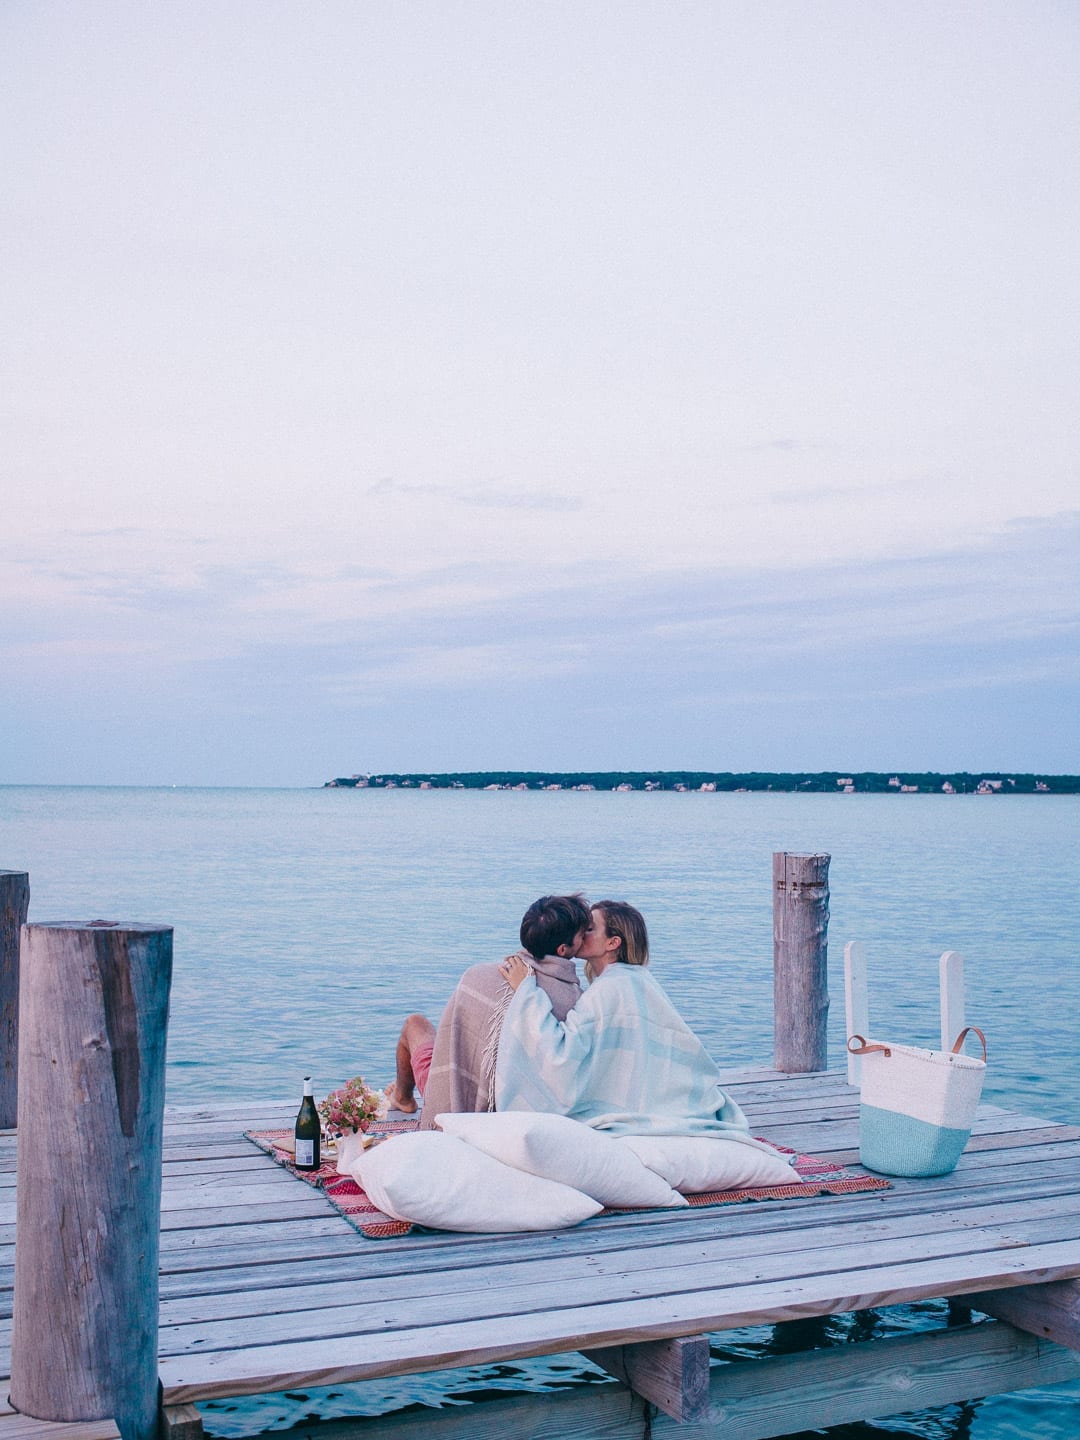
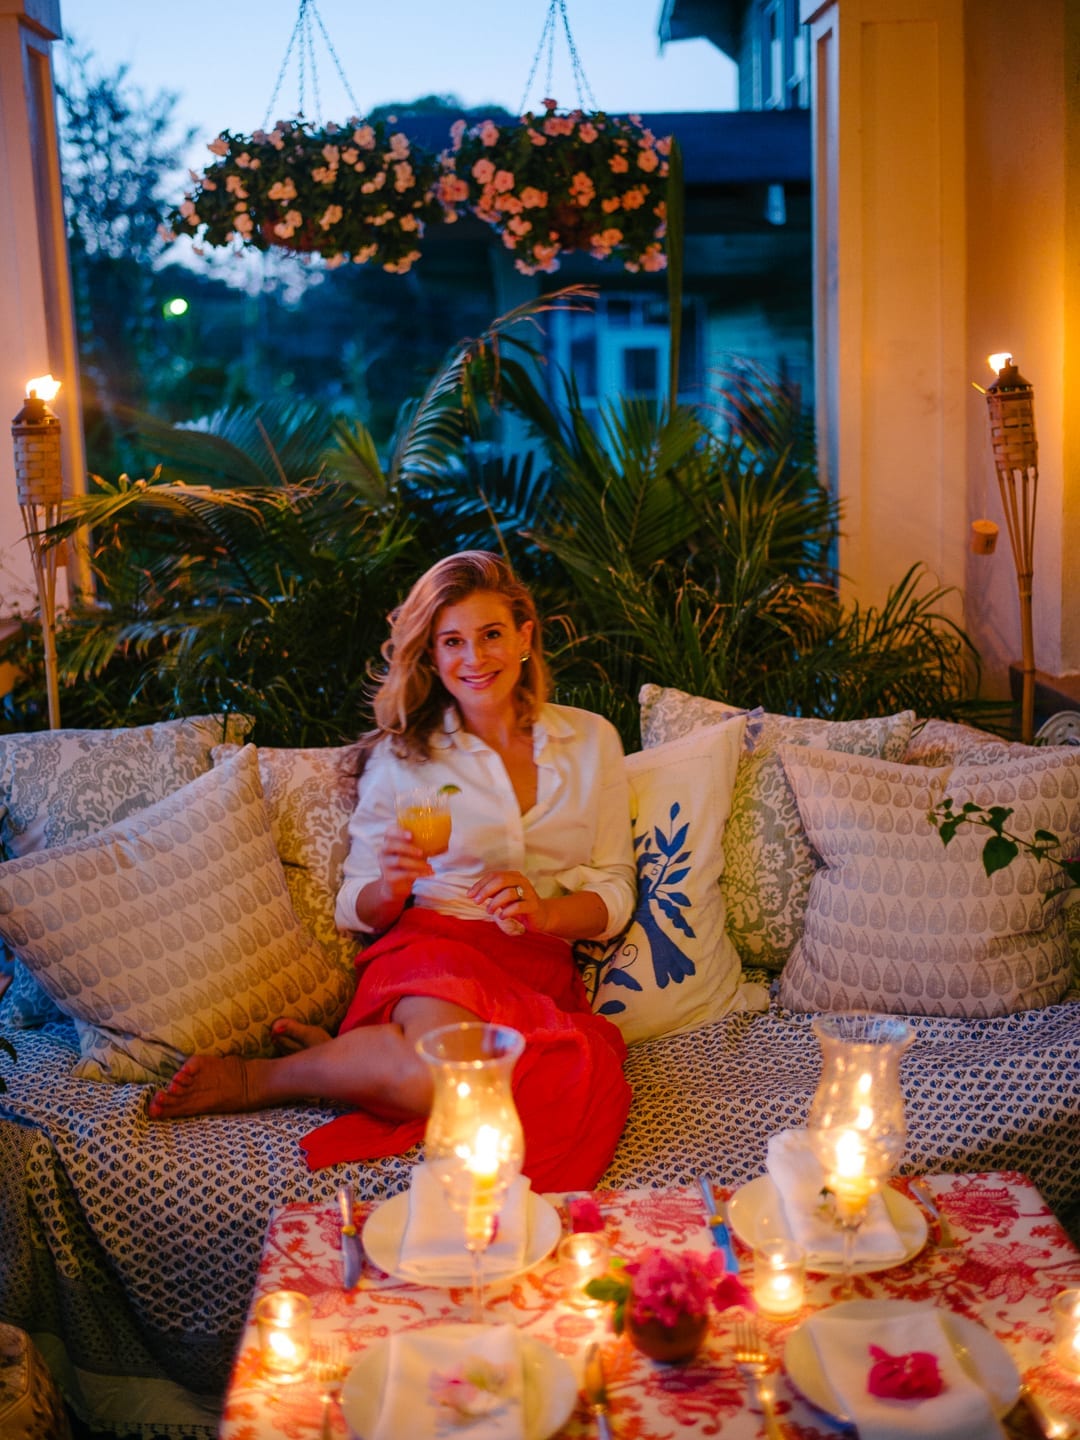
ISO controls how much light the sensor lets in. The ISO is what allows your camera to work during the very bright light of midday and then in lower light settings, like at dusk or indoors. During the day, I keep my ISO around 100/200 outside and 400/640 inside. Turning the ISO up inside means that I could still shoot on the same settings (Say aperture is 2.0 and shutter speed is 1/60th) from outside to inside but adjust the ISO to keep the image light/not too dark. The two images below were probably shot on similar apertures and shutter speeds, but the increased ISO allowed me to get the glow of the bottom image without it looking too dark.

(above: outside f2.0 1/60th, ISO 200, below: inside f.20 1/60th, ISO 640)
I increase my ISO a lot, and it is important for me to work with cameras that have a good ISO capacity. Cameras that do not work well in low light will need flash/other lighting sooner because the quality of the image falls apart and gets too grainy. I like to work as much as possible without flash, and I like to shoot in lowlight settings a lot, particularly at dusk or in candle-lit situations.
As always, here to answer questions and do let me know if you think the video might be easier! xxx