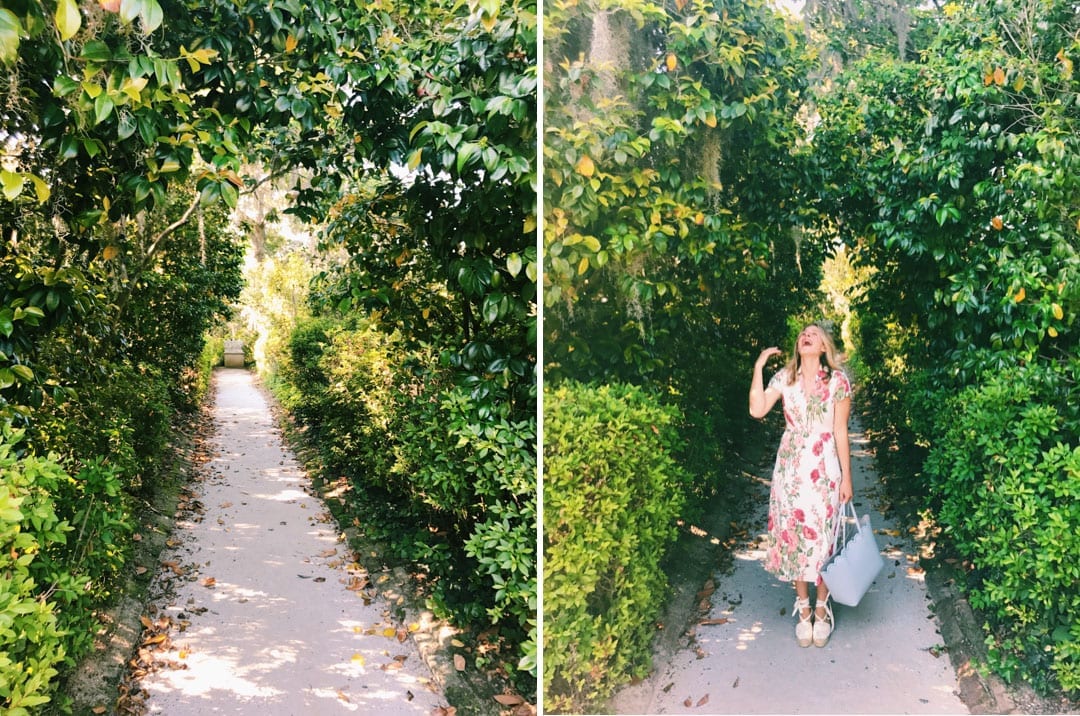

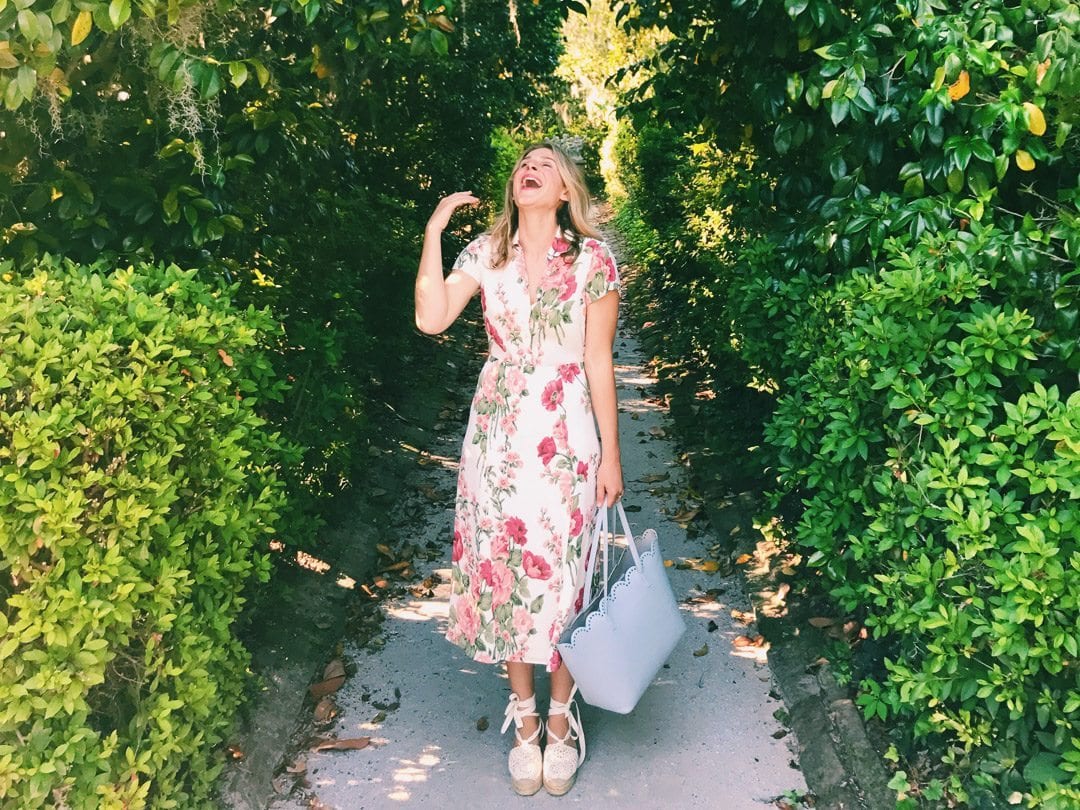
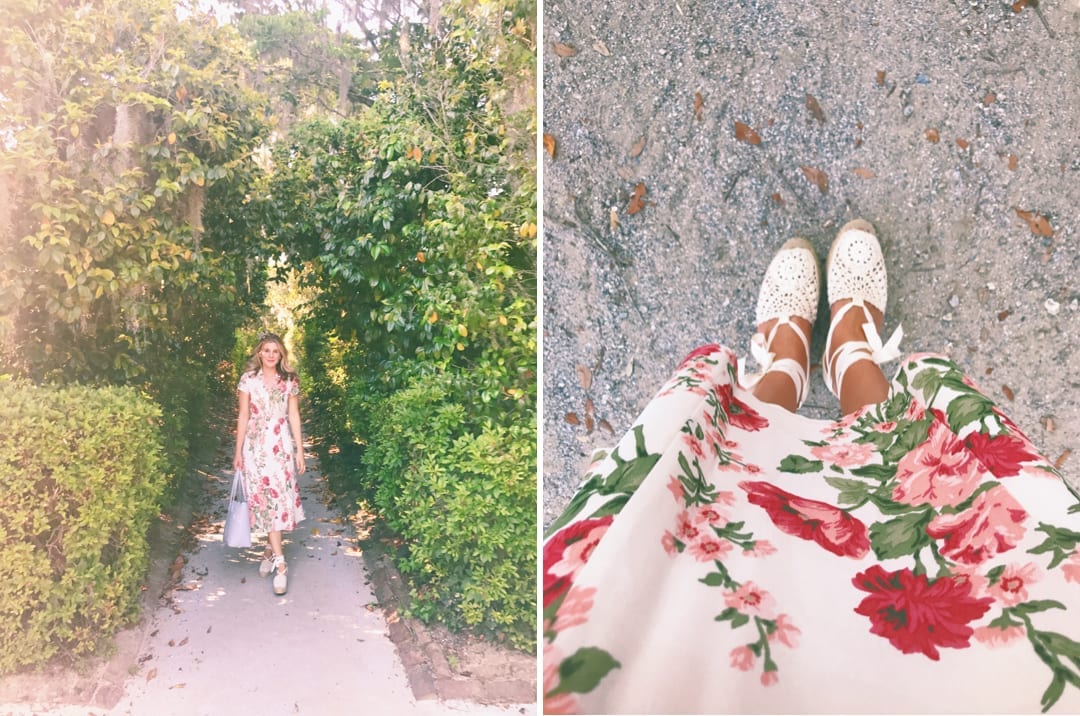
Hi guys! This is just a quick post to show you how we edit our iPhone photographs. We went to Middleton Place earlier this week to snap a few sample images — if you ever visit Charleston, this is one of my favorite places to shoot. Middleton’s gardens are stunning year round and it really reminds me of England. We’re lucky to shoot there often, mostly for weddings or engagement sessions. It naturally feels like a place to dress up a bit. I love this new dress which I picked up in time for our trip to France next week, it’s so comfortable and feminine; I am sure that I will be wearing it often. My shoes are my mother’s and they are vintage Ralph Lauren. A few of you asked me to find a similar pair after I wore them a few posts ago — I think these are similar and perhaps easier to wear!


We shot in a variety of lighting settings — backlit, direct light and flat light. All of these photos were edited in VSCO on my phone using filter C1 with some tweaks which I review in the short video below. In most cases, I added a few stops of warmth and magenta, saturation and brought up the shadows. Of course it depends on each individual image but, very often, I copy and paste my settings and just make minor changes if necessary.

I particularly love shooting with my phone very close to sunrise or sunset. In my opinion, the one situation the iPhone doesn’t do very well in is backlight. You can adjust the exposure when you’re shooting but it just blows out the image. Close to sunset, when the light is beautiful, golden and even, the iPhone can take some amazing shots! I also love it in flat situations, similar to yesterday’s post. More tutorials to come soon, please let me know if there’s anything specific you might like to learn about our process! xx