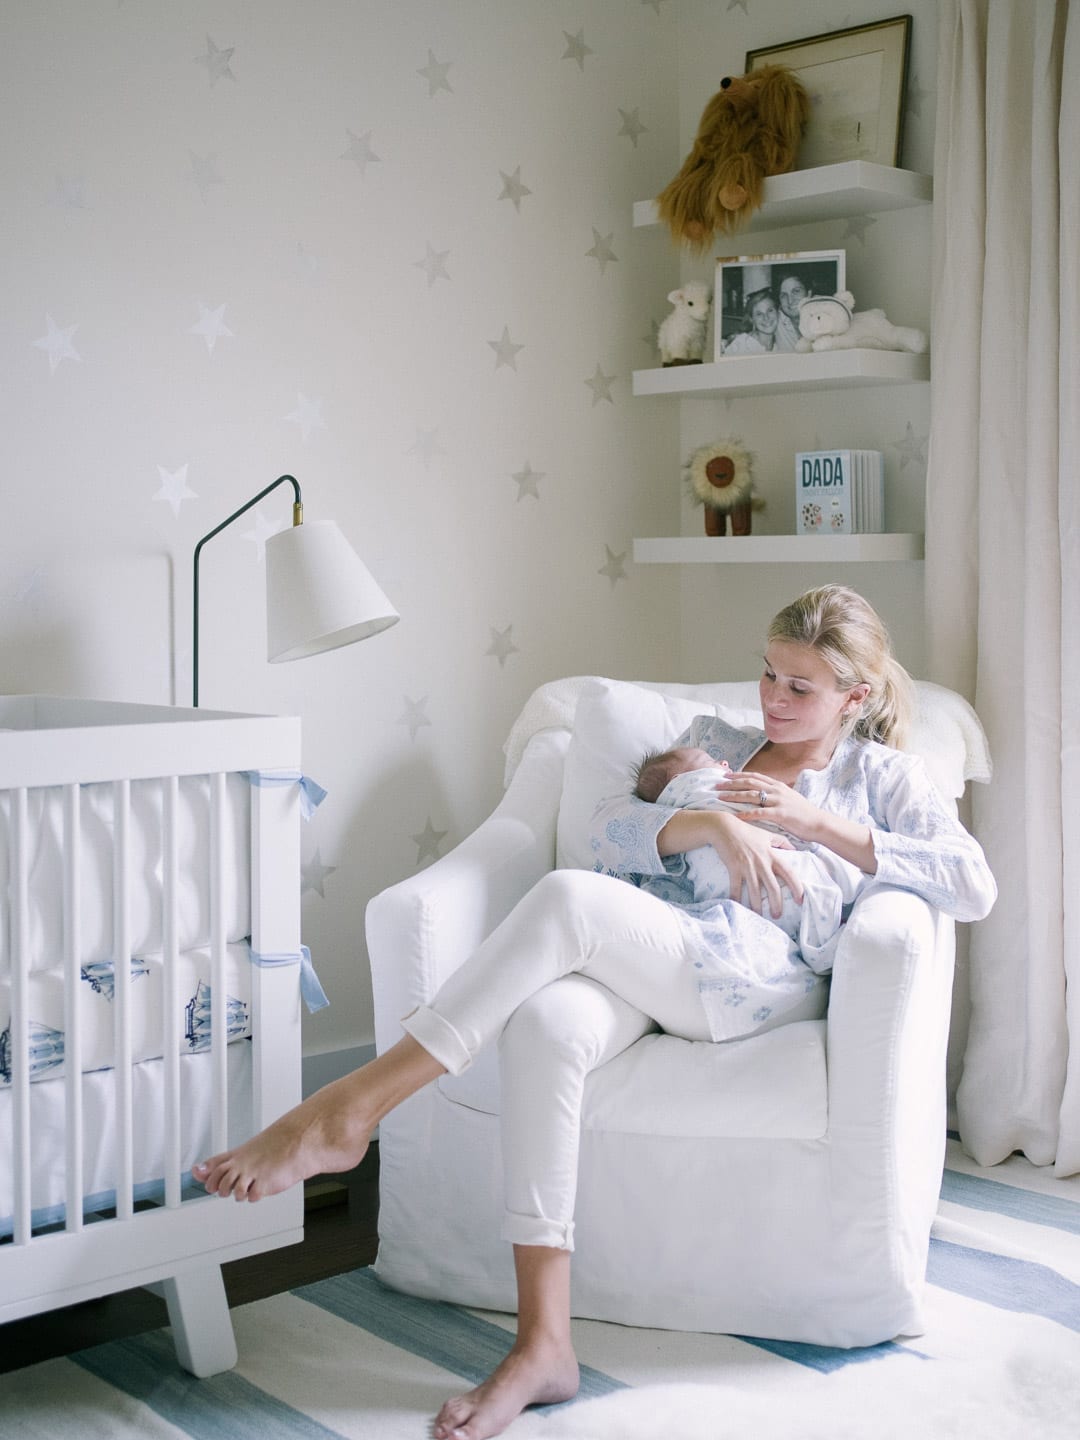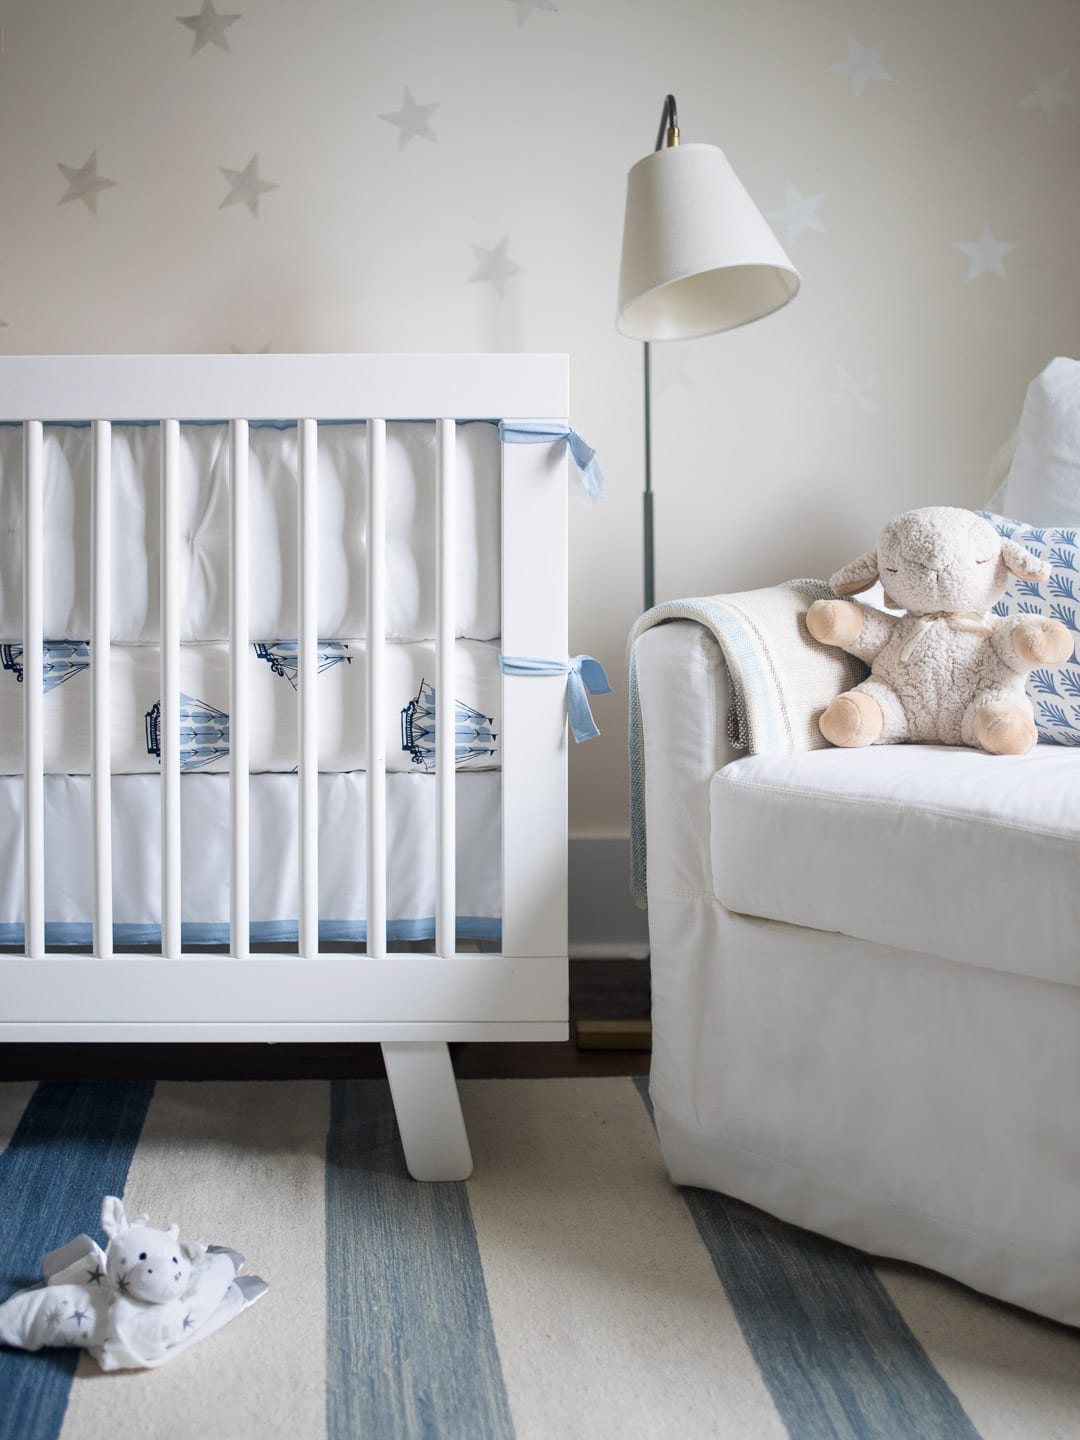


I searched endlessly for the right wallpaper for Baby R’s nursery. I was looking for a soft cream background with lovely, gentle stars — silver or gold. I couldn’t find anything that matched my vision perfectly; all the star stickers I came across were too dark and as a result, too harsh compared to what I had in my mind’s eye. In the end, Will and I ended up stenciling them onto the walls and after testing out many paints, we found this combination to work perfectly. The paint we used for the stars isn’t meant for walls but after nearly a year, we haven’t seen any fading and I love that we used a non-toxic paint in such a precious environment.
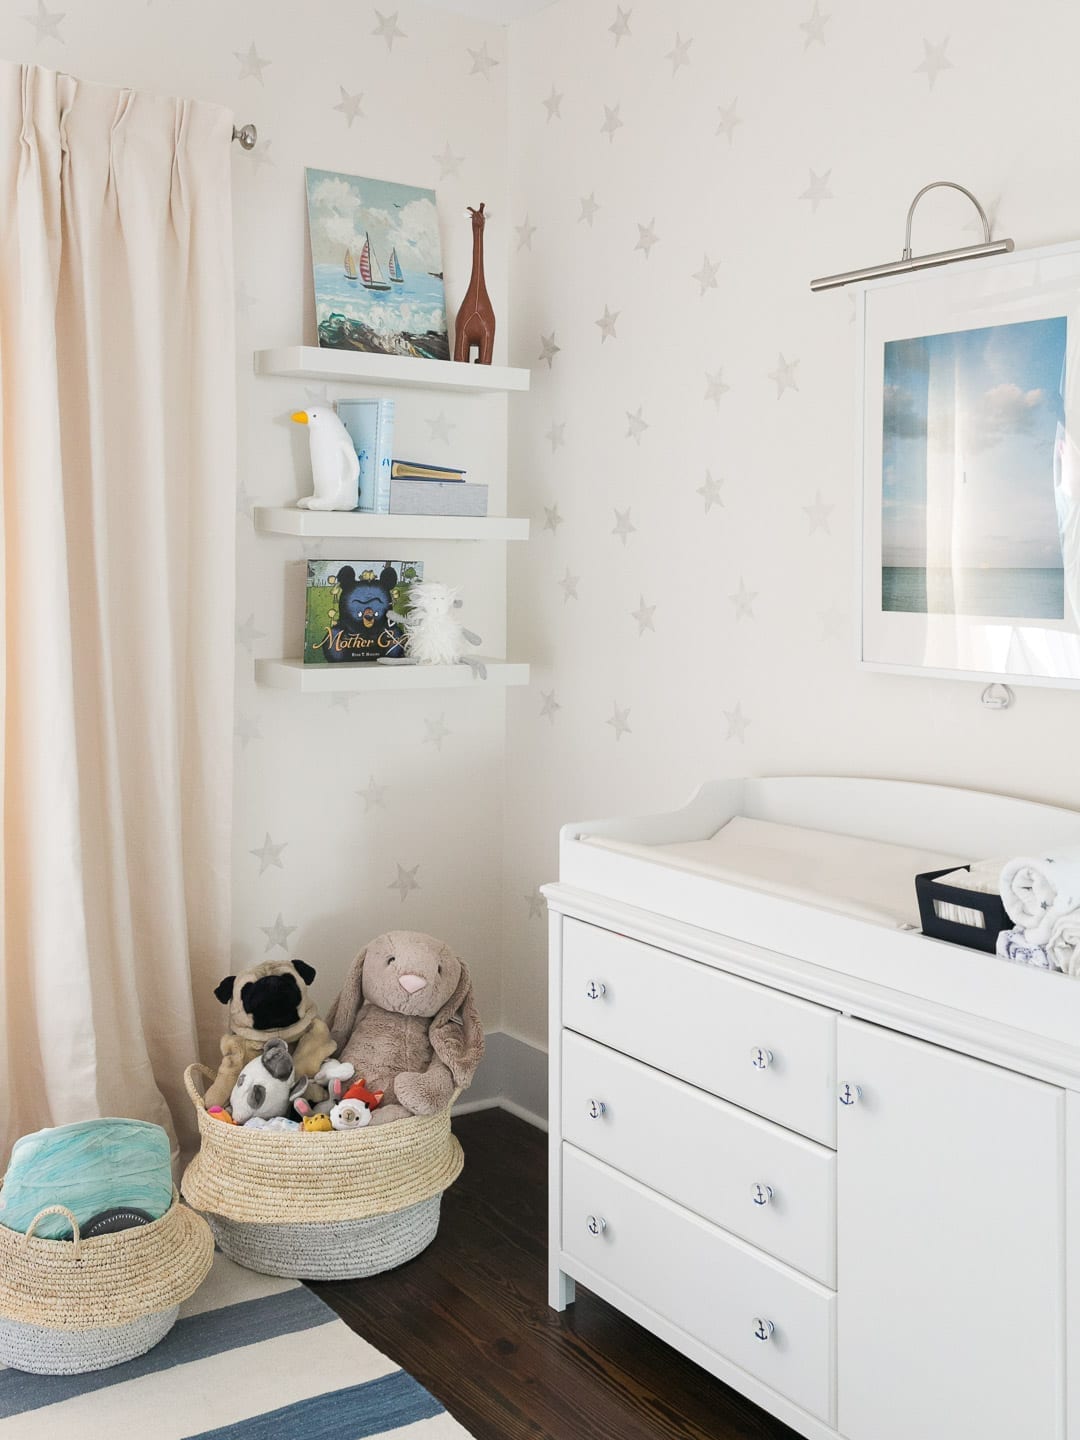
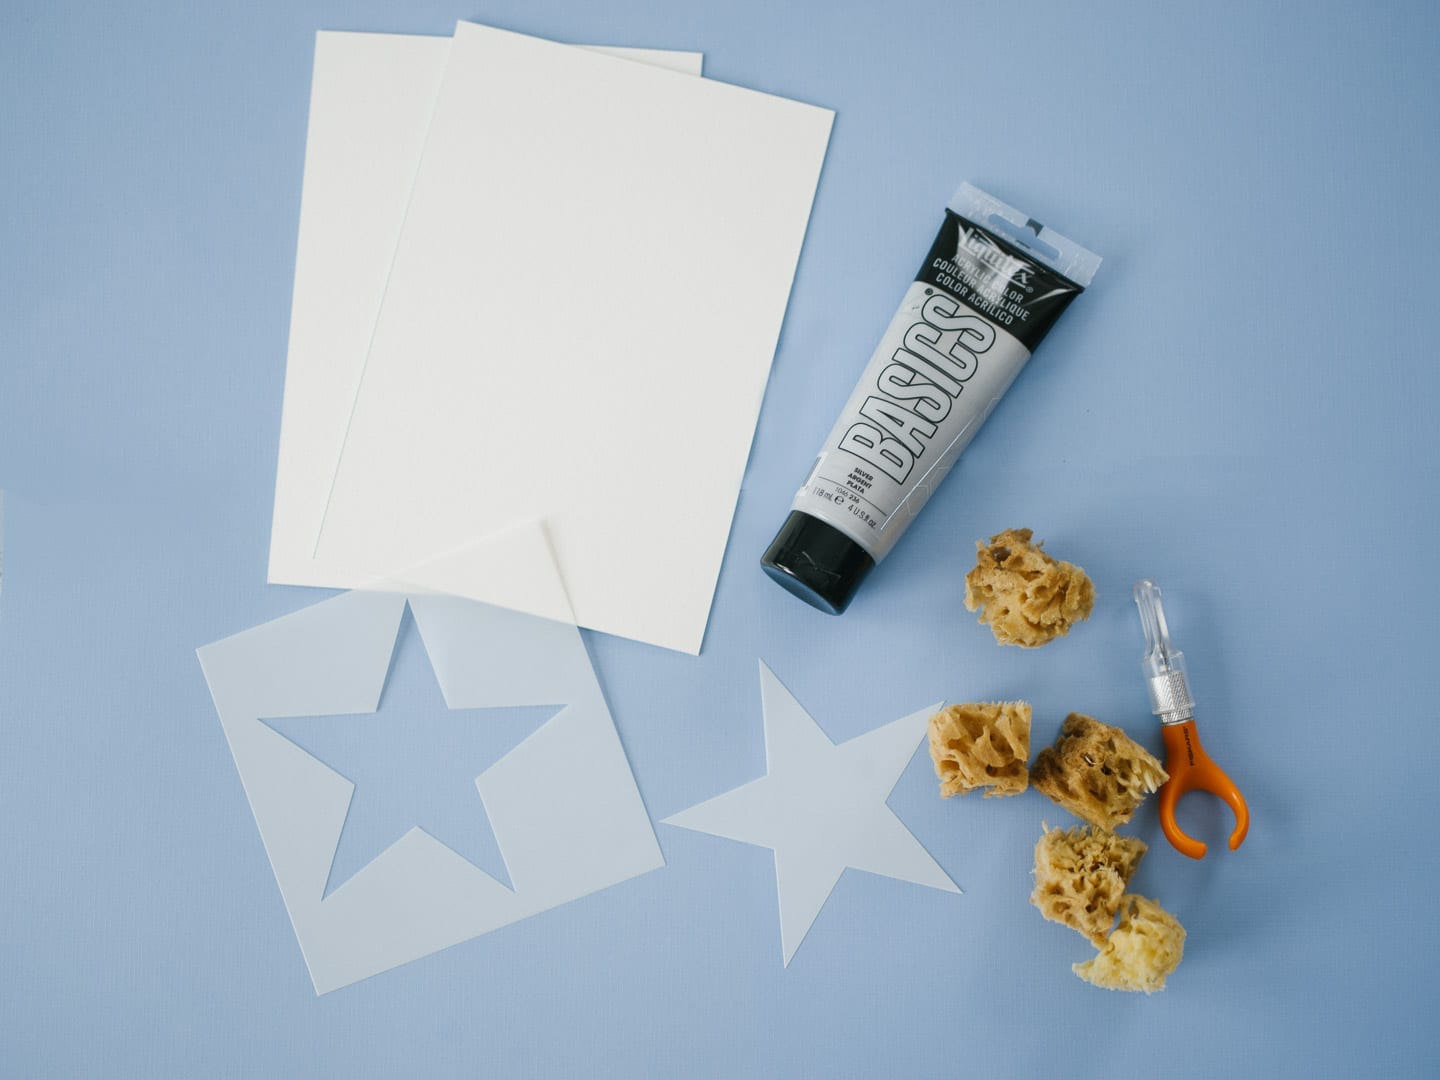
After trying many paint brushes, we learned that sponging on the stars created the perfectly imperfect texture that we were looking for. We started with a layer of ‘linen white’ paint (primer included) and gave the room a fresh coat or two. We then cut out stencils in very thick construction paper (so that we could add stars simultaneously). We found that as as soon as any paint leaked through the stencil, which happened often as we moved around the room, the stars began to get too imperfect. Because we were creating our own stencil, we would just start fresh, and so were able to keep a pretty consistent look throughout.
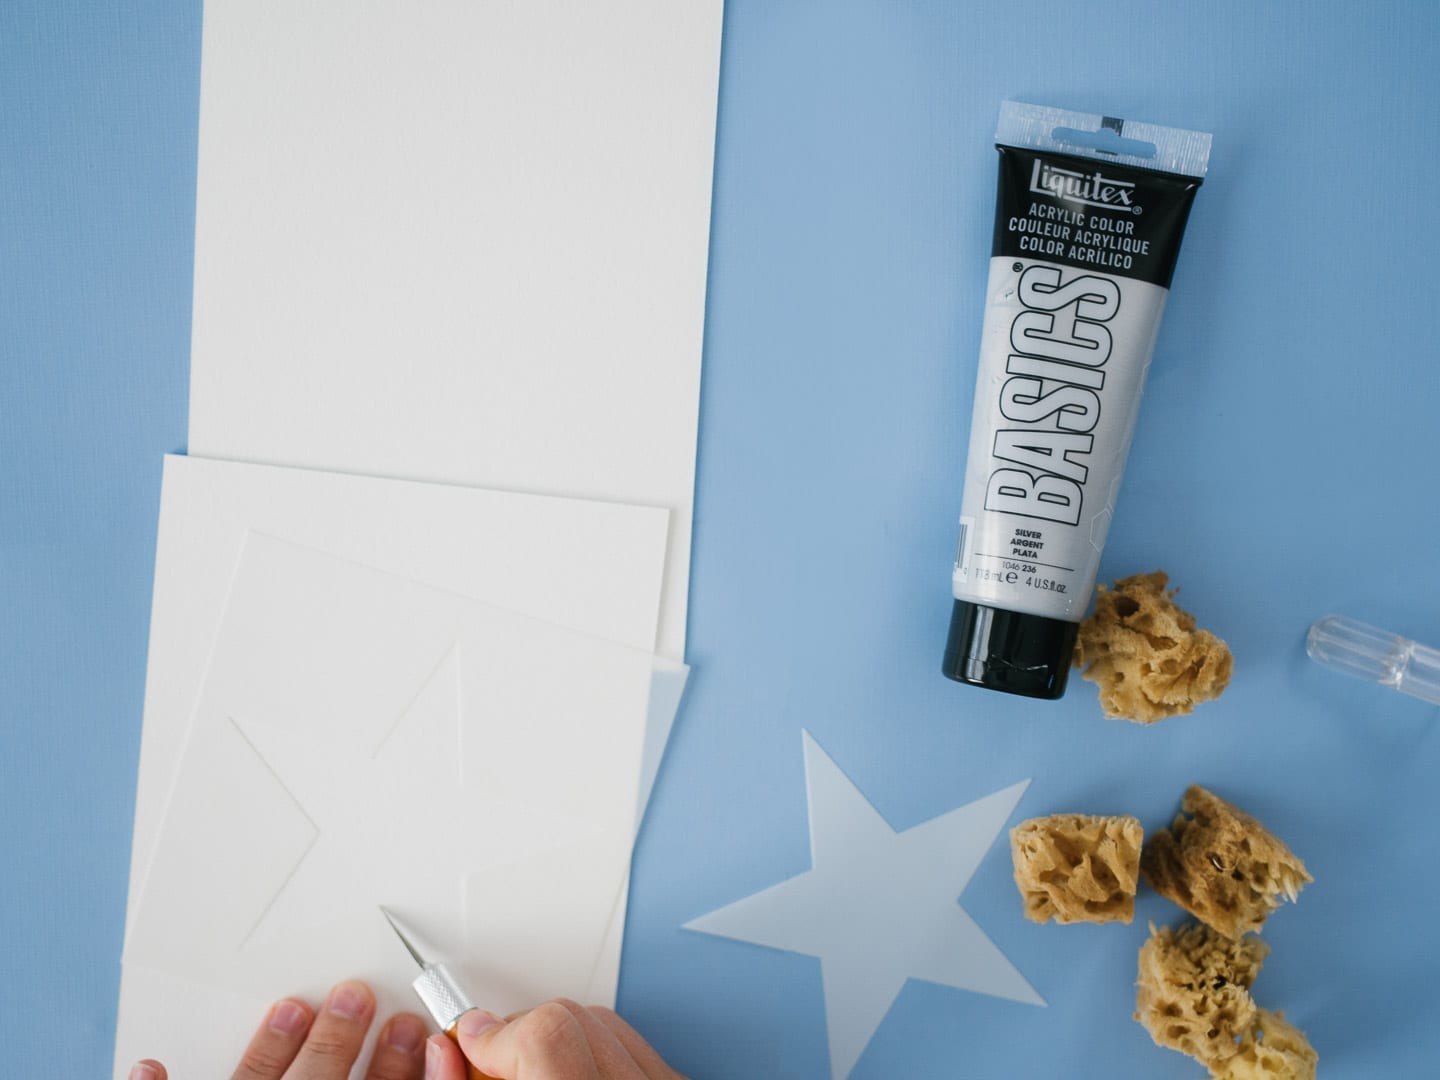


We emptied the room; it didn’t take more than a few days to cover. I didn’t wish for the stars to be too evenly placed so we ‘winged’ it but you could of course map it out or use a variety of sizes for a different look. Regardless, I loved the way this silver paint turned out (purchased at Michael’s) — it is almost faded and very gentle and magical.